

The LED wall looks smooth on set, but the recorded shot has moving dark bands. Start with that clip. Scan-line troubleshooting works best when the crew records the camera settings, playback source and wall timing, then changes one variable at a time. This guide helps you separate timing artifacts from other image problems and save a setup you can reproduce on shoot day.
What Scan Lines and Refresh Mismatch Look Like
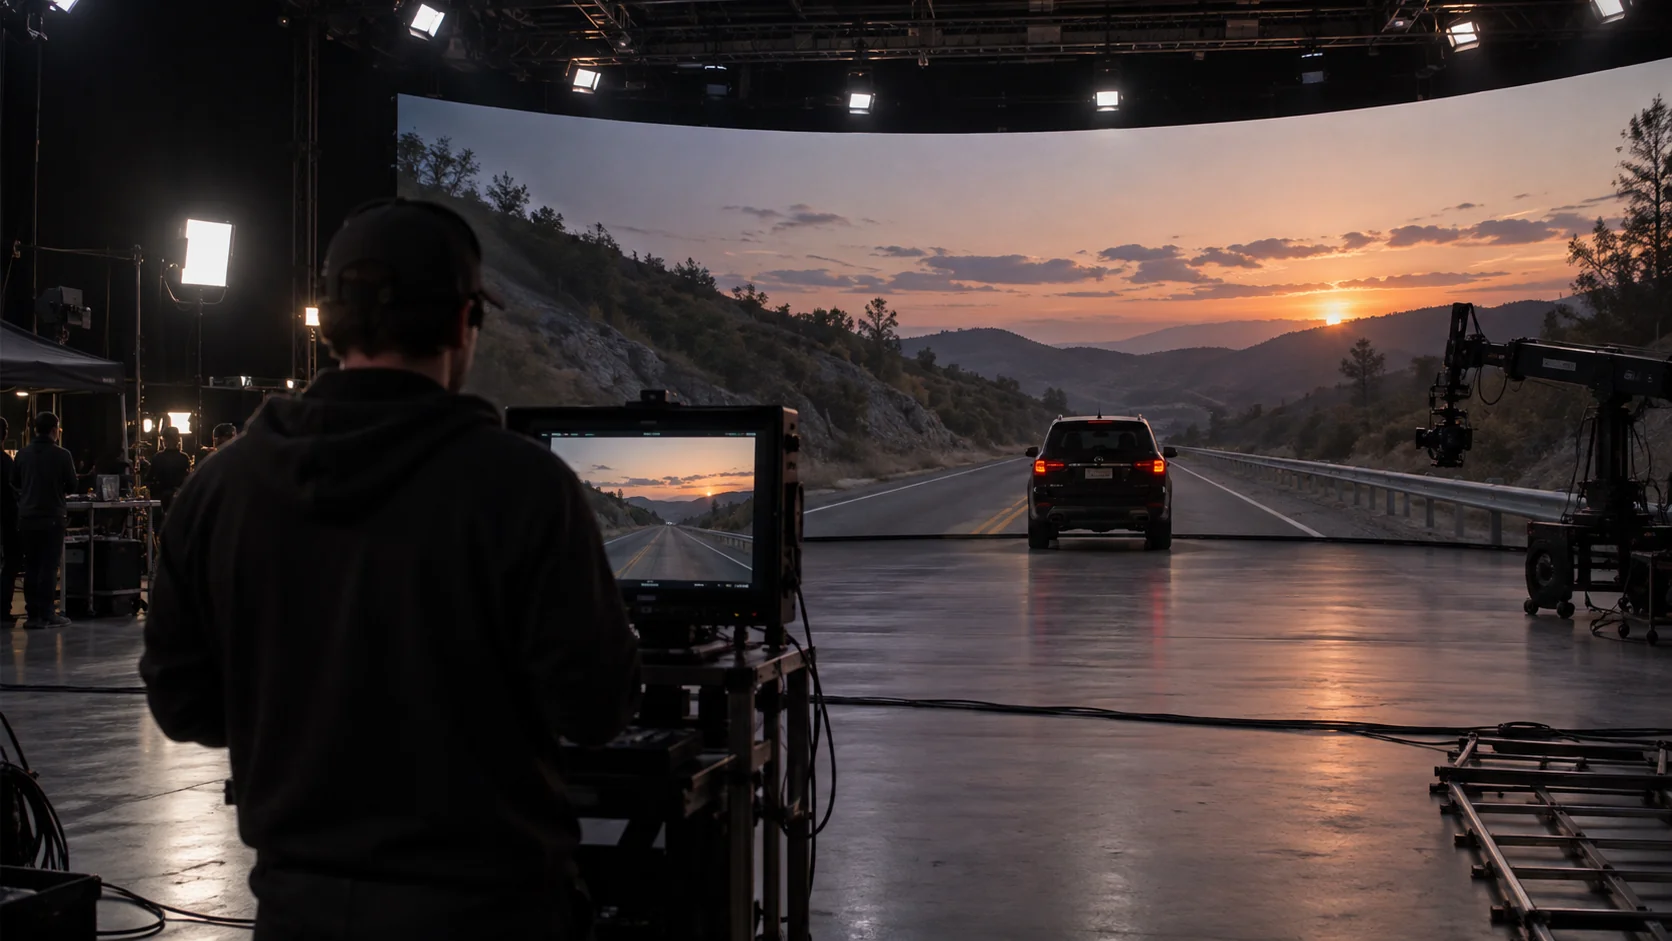
On camera, scan-line problems often show up as horizontal bands, moving dark lines, shimmer, brightness pulsing, or rolling artifacts. The exact look can change with shot angle, motion, exposure, or shutter setting, which is why a wall that seems stable in the room can still fail in recorded footage. Megapixel’s scan-line guidance ties the artifact to timing misalignment between LED refresh and camera capture.
What this means for a virtual production LED wall is simple: the eye is not the final judge. Camera-side artifacts can be obvious in the recorded image even when crew members think the wall looks acceptable on set; Megapixel’s same article notes that precise synchronization of the wall and sensor refresh cycles is what keeps the captured image aligned.
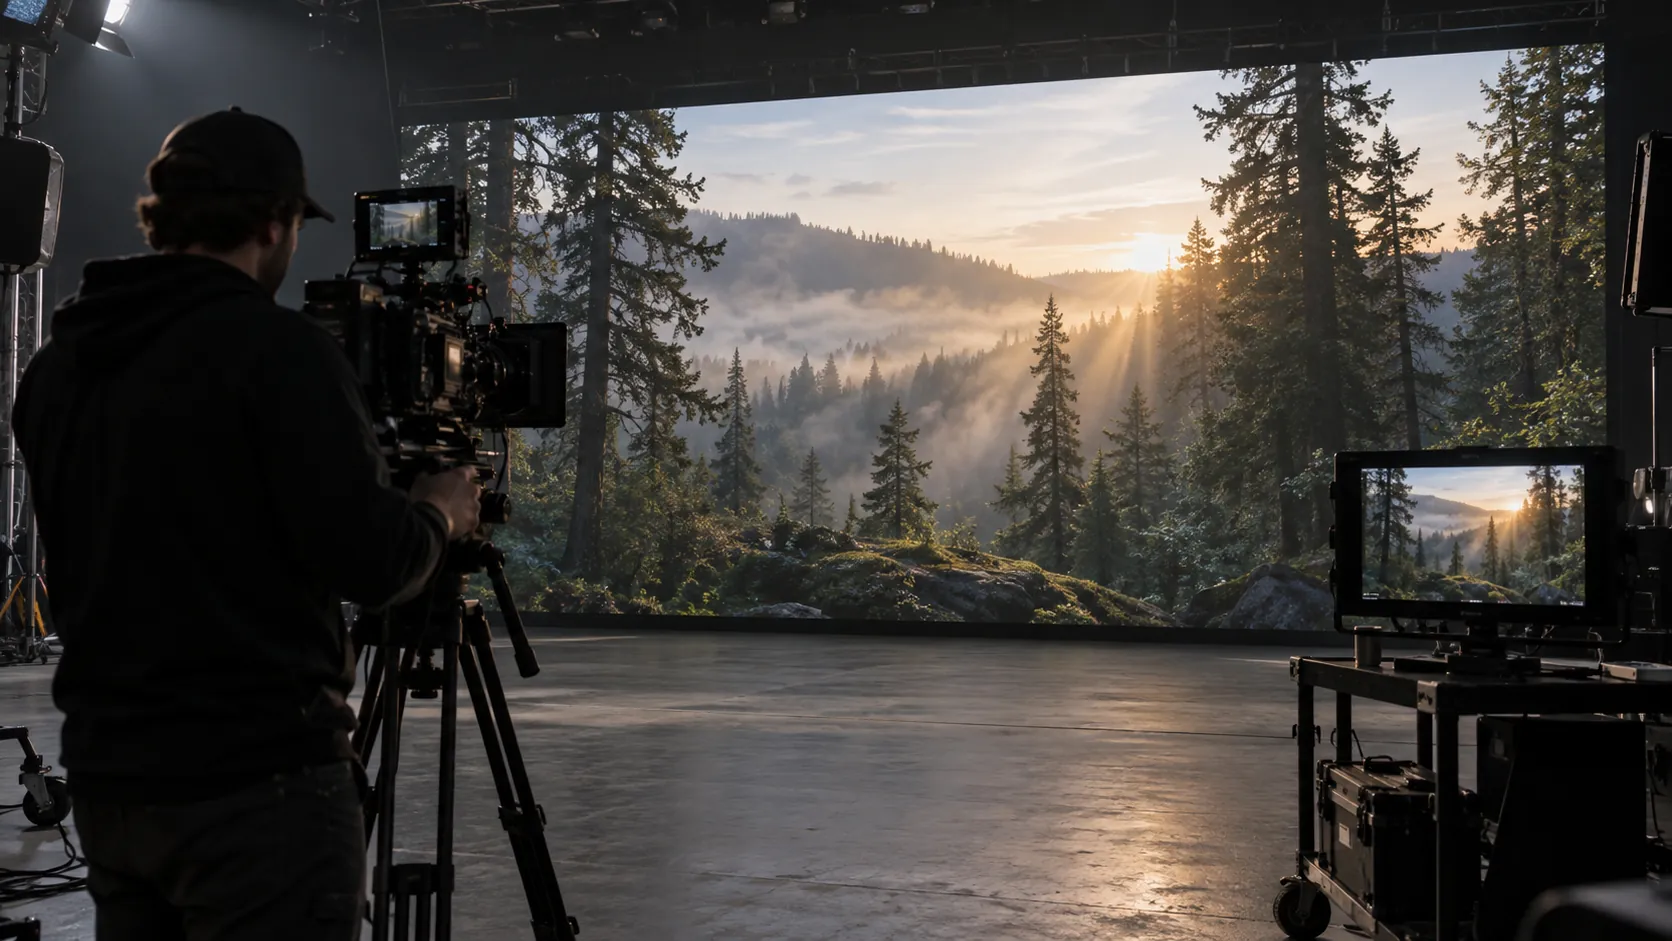
For stage teams, that changes the troubleshooting order. First confirm what the lens sees. Then decide whether you are dealing with a wall timing issue, a camera setting issue, or a mismatch between the two.
How the Problem Shows Up on Camera
The most useful clue is repeatability. If the bands or shimmer appear in one setup and ease off when shutter or exposure changes, you are usually looking at a timing interaction rather than a random fault. That does not mean the wall is bad. It means the current combination of camera settings, source motion, and wall timing is not camera-safe yet.
What Looks Fine to the Eye but Fails on Lens
This is where many teams waste time. A wall can seem smooth in person while the camera sensor reveals the problem immediately. Room lighting, viewing distance, and on-set movement can hide the issue until recording starts. Treat any clean-looking live view as a starting point, not proof.
Why camera frame rate and LED refresh timing need coordination
Camera frame rate counts captured frames per second; shutter duration describes how long each exposure lasts. The display also has an input frame rate and an LED refresh or scan cycle. Those values need coordinated timing, not identical numbers: a 24 fps camera and a wall advertised at thousands of hertz are describing different processes. The camera must capture a suitable part of the wall’s light-output cycle.
That is why a setup can pass rehearsal and still fail later. A change in camera body, shutter angle, playback source, exposure, or motion content can shift the timing enough to reveal a mismatch. In practice the same problem class keeps returning: refresh mismatch, sync friction, and timing drift surface again when the test conditions change. Vendor engineering notes describe the mechanics directly – Megapixel’s knowledge-base article has the recording camera run at exactly the content frame rate with the same genlock sync signal, then steps the sync delay in microseconds – which is why retiming has to be retested whenever camera body, shutter, source, or wall timing changes.
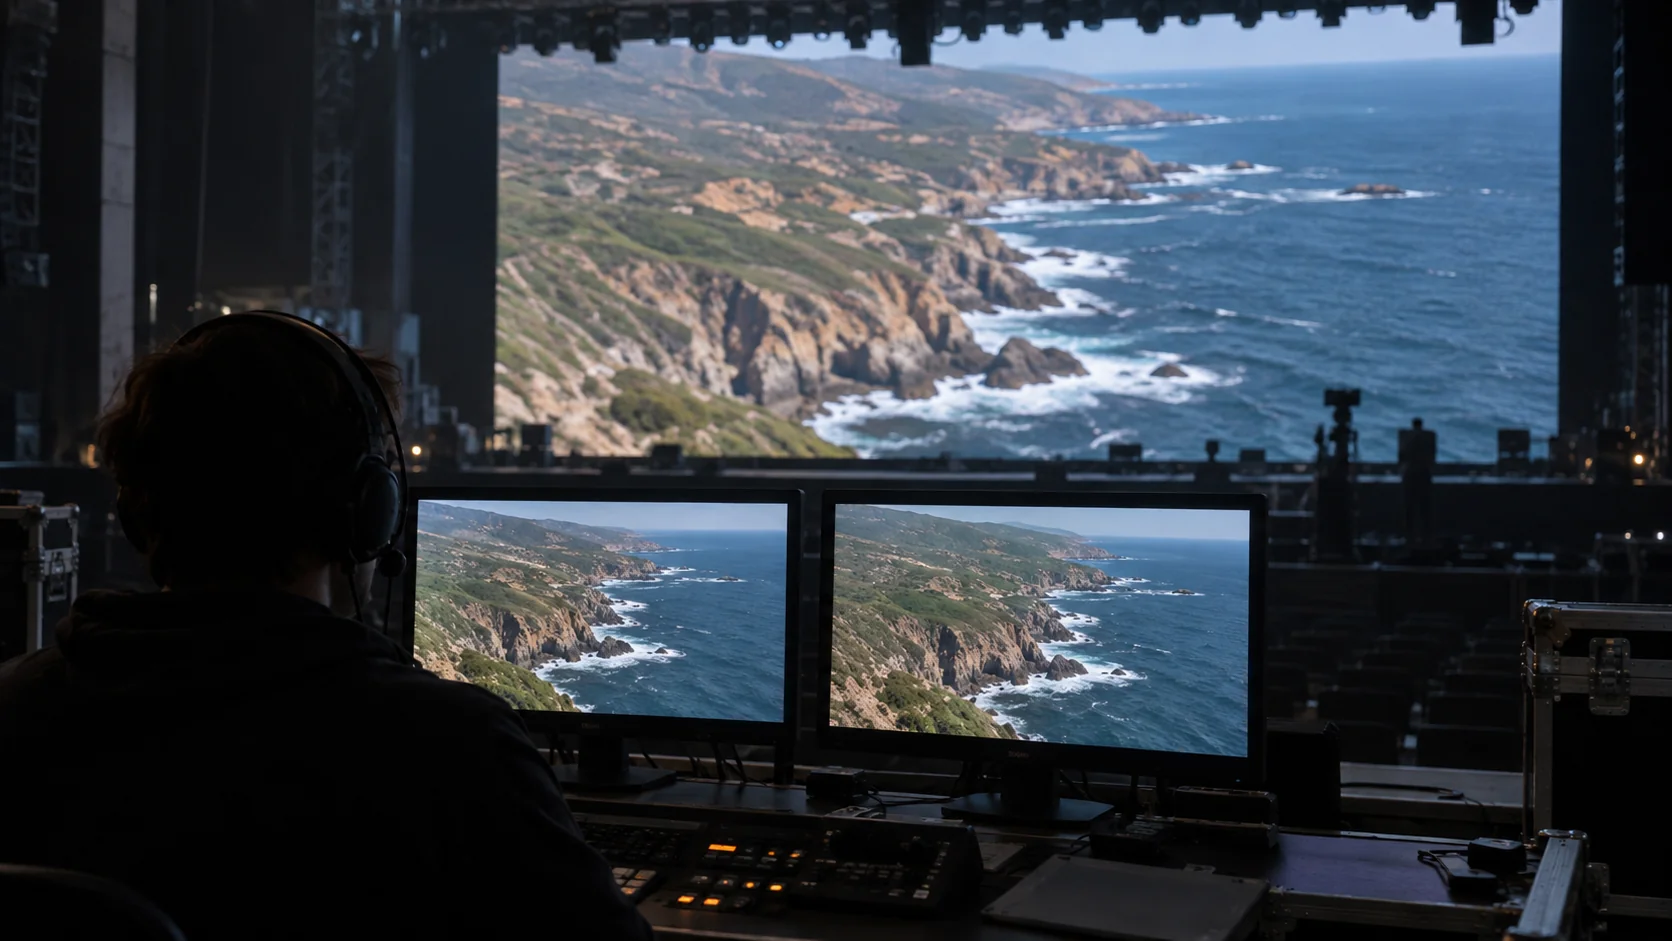
If bands move or change when timing and shutter settings change, work through the camera and processor synchronization path. If a fine interference pattern changes with lens, focus or distance, follow the XR moiré troubleshooting guide. Moiré is a spatial sampling problem; treating it as another name for flicker can send the crew toward the wrong adjustment.
Keep the accepted timing preset with the camera model, frame rate, shutter, lens, processor settings and a reference clip. After timing is stable, use the LED-volume calibration drift guide for brightness and color consistency between sessions.
Camera Test Variables That Matter Most
For most crews, the fastest path is to test the variables most likely to change the result, then leave the rest alone until the core mismatch is under control. ARWall’s camera setup best practices frame the core challenge as synchronizing camera frame rates with LED wall refresh rates to prevent flicker and banding, and note that cinema cameras with global (non-rolling) shutters reduce rolling-shutter-style effects. Processor-side tuning exists too, but it is model-dependent: Brompton’s virtual-production page lists features such as ShutterSync (tuning the wall’s timing to a planned shutter) and genlock phase offset for moving artifacts off-frame, so confirm what the quoted processor actually offers before planning around it.
| Variable | Why It Matters | What To Check First |
|---|---|---|
| Frame rate | It changes how the camera samples motion and refresh timing. | Lock the intended shoot frame rate before changing the wall. |
| Shutter angle or ECS | It can move the camera away from a visible timing clash. | Adjust only after you have a stable baseline clip. |
| Exposure | It can make bands more obvious or hide them at first glance. | Keep exposure consistent while isolating the artifact. |
| Lens choice and distance | They change how much of the wall pattern the sensor sees. | Re-test the same shot at the actual framing distance. |
| Playback motion | Fast motion can expose issues that still frames hide. | Test the kind of content you will actually use. |
The decision rule here is straightforward: if the wall looks acceptable in stills but fails in motion, stay focused on timing, shutter behavior, and source motion before you start changing the whole system. If artifacts disappear after a shutter tweak, that is useful, but it still needs a recorded confirmation pass before you call the setup ready.
A Repeatable LED Volume Calibration Workflow
A repeatable LED volume calibration workflow should give you the same answer every time the test conditions are the same. Brompton’s virtual production page points to the main pieces its workflow features cover – shared genlock timing, shutter-aligned wall timing, and panel/colour calibration – which map onto the baseline frame rate, sync features where available, and recorded camera tests below.
- Set a baseline that matches the intended shoot setup.
- Lock the test camera and keep its settings unchanged for the first pass.
- Verify the playback source and use content that reflects real scene motion.
- Adjust wall timing or camera-side controls one variable at a time.
- Capture short clips instead of judging only from the live monitor.
- Review the recorded footage on the same camera path you plan to shoot.
- Save the final preset and note the camera, lens, and source conditions that produced it.
The goal is not perfection on the first pass. The goal is repeatability. If you cannot reproduce the same result twice, you do not yet have a reliable preset.
When comparing a C-Shine Plus rental configuration, ask for a demonstration with the planned camera and processor. Include the lenses and shooting positions that matter to the production, then keep the accepted settings with the equipment proposal.
How to Verify Camera-Safe Performance Before Shoot Day
Before shoot day, verify the wall under the real camera conditions you plan to use. Do not rely on the spec sheet alone. Use at least one recorded pass, then retest after any major change in camera body, lens, exposure, playback source, or wall timing.
- Lock the test conditions before you start changing settings.
- Record a short reference clip with the actual framing you plan to shoot.
- Inspect the clip for bands, shimmer, or brightness pulsing.
- Repeat the pass with a second camera if the production will use one.
- Change only one variable at a time so you can trace the effect.
- Save the final preset with notes on frame rate, shutter behavior, and content type.
- Re-run the same pass after any major scene, source, or exposure change.
- Escalate if the artifact returns after the baseline has already been confirmed.
If the artifact returns under the same recorded settings, send the supplier the reference clip and configuration record so the investigation starts from reproducible evidence. For a new stage, the virtual production LED wall setup guide covers the earlier system-design decisions. For touring work, compare the touring LED solution with the camera workflow and repeated setup requirements.
Final Takeaway
Eliminating scan lines and refresh mismatch on a virtual production LED wall is mostly about disciplined testing. Start with the lens, not the room. Lock the baseline, make one change at a time, and save the preset that survives recorded review. If artifacts persist after that workflow, document the conditions and ask for a camera-safe LED wall fit check before the next shoot.
FAQs
Why Do Scan Lines Appear on a Virtual Production LED Wall?
They usually appear when the camera samples the wall at a moment that does not line up cleanly with the wall’s refresh cycle. That can make the artifact show up as bands, shimmer, or rolling lines in recorded footage even if the wall looks stable in person. The important check is whether the problem repeats under the same camera conditions.
What Is the Difference Between Refresh Mismatch and Flicker?
Refresh mismatch is the timing problem that makes the camera capture uneven portions of the wall update cycle. Flicker is the visual result you may notice, and it can look like pulsing, shimmer, or brightness changes. In practice, teams often use the terms loosely, but the fix still depends on identifying the timing source.
Can a Higher Refresh Rate Eliminate Camera Artifacts?
It can help in many setups, but it is not a universal fix. Camera body, shutter behavior, playback motion, exposure, and processor sync features can still create visible artifacts if the rest of the timing chain is not aligned. Treat a higher refresh rate as one part of the solution, not the whole answer.
What Should We Check If Artifacts Return After Calibration?
Re-check the camera body, lens, shutter setting, playback source, and exposure before assuming the wall preset failed. Artifacts often return when one of those variables changes after the first successful test. If the same clip fails again under the same conditions, document the settings and escalate the issue for deeper fit review.
How Should We Test an LED Volume Before a Shoot?
Use the real camera, the real framing, and a short recorded clip that reflects the actual scene motion. Review the footage, change one variable at a time, and repeat the pass until the result is stable. If the setup only looks good live but not in recording, trust the recorded clip.