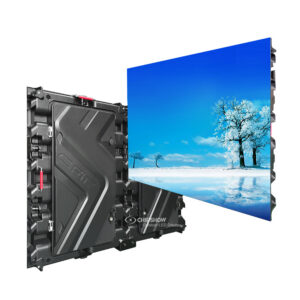
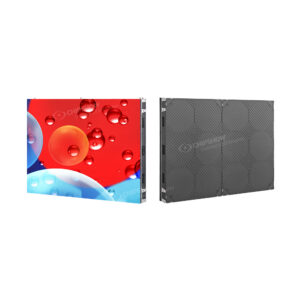
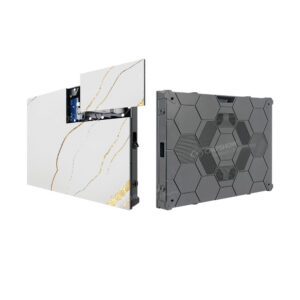
C-Pad-M Indoor MIP LED Display: Choose the Right Canvas
Start with what the nearest viewer must see
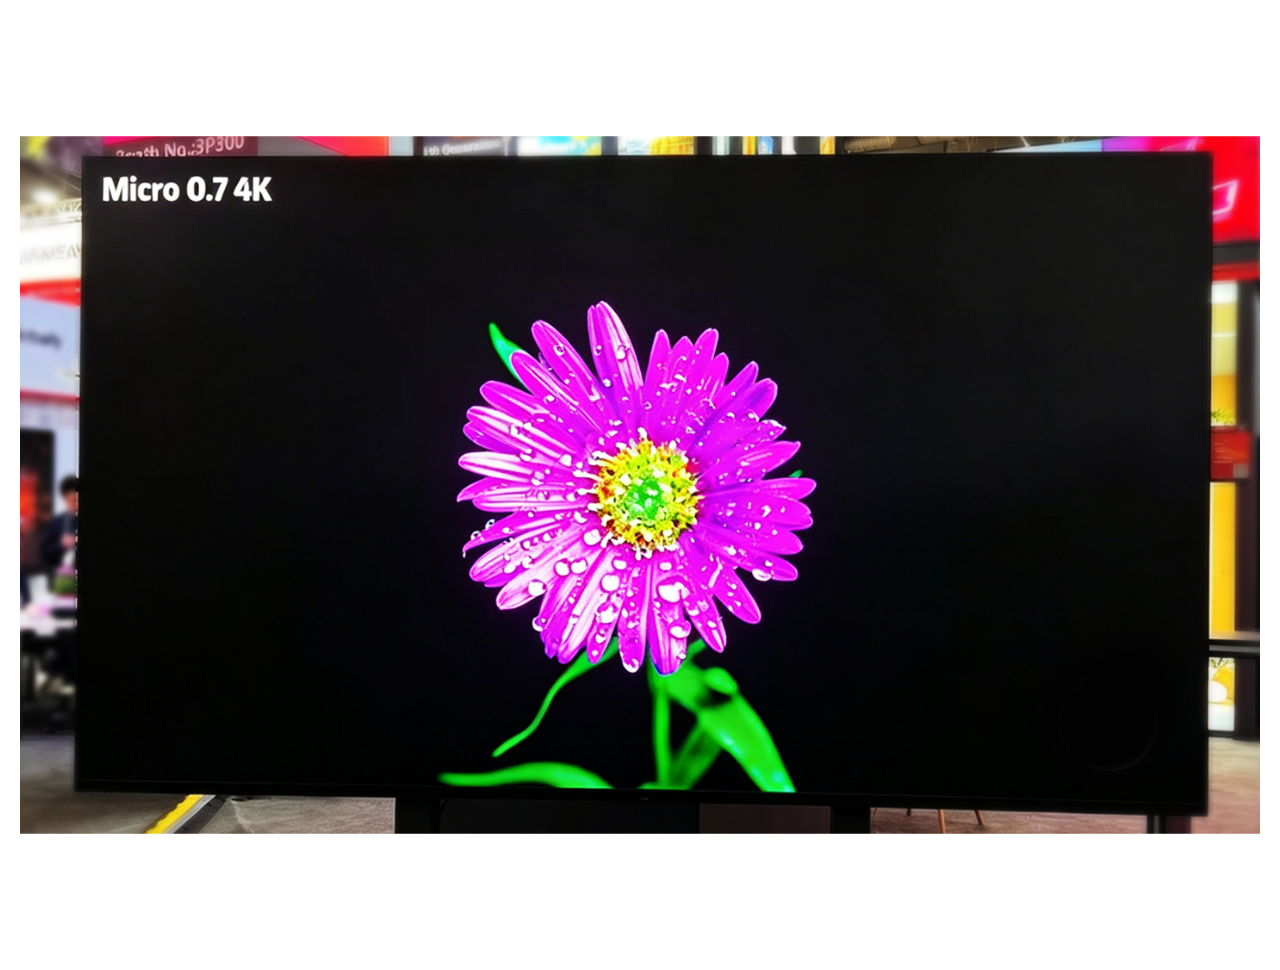
The first useful question is about content, not the wall’s diagonal. Will the closest audience members read spreadsheet figures, follow a fine product drawing, recognize faces in a presentation, or mainly take in larger images? Bring actual slides, diagrams and photographs into the pitch conversation. A finer pitch places more pixels inside the same cabinet area, but the right choice also depends on the nearest seat and the smallest important element in the content. Specify that viewing task before choosing a configuration by headline number alone.
The comparison table shows how cabinet pixel count changes across the three pitches. These are resolutions per cabinet, not claims about an entire installed wall. A short viewing demonstration with intended material can make the choice clearer for technical and nontechnical stakeholders. If several departments will use the wall, include a sample from each: a dense chart, a live presentation and a more visual piece may reveal different needs. That shared evidence keeps the decision grounded in the work the screen will actually do.
Shape the wall and the content together
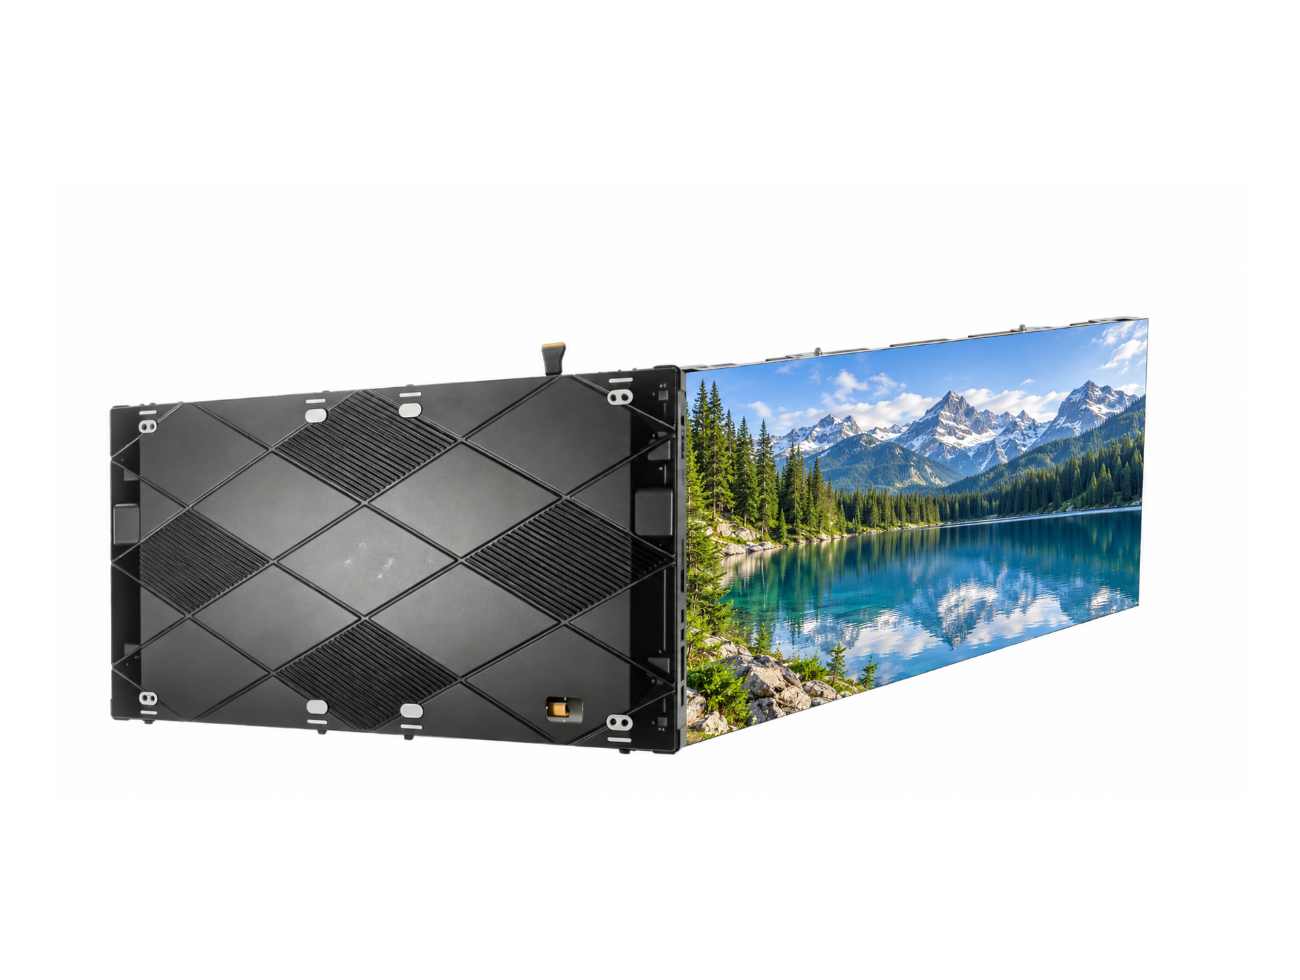
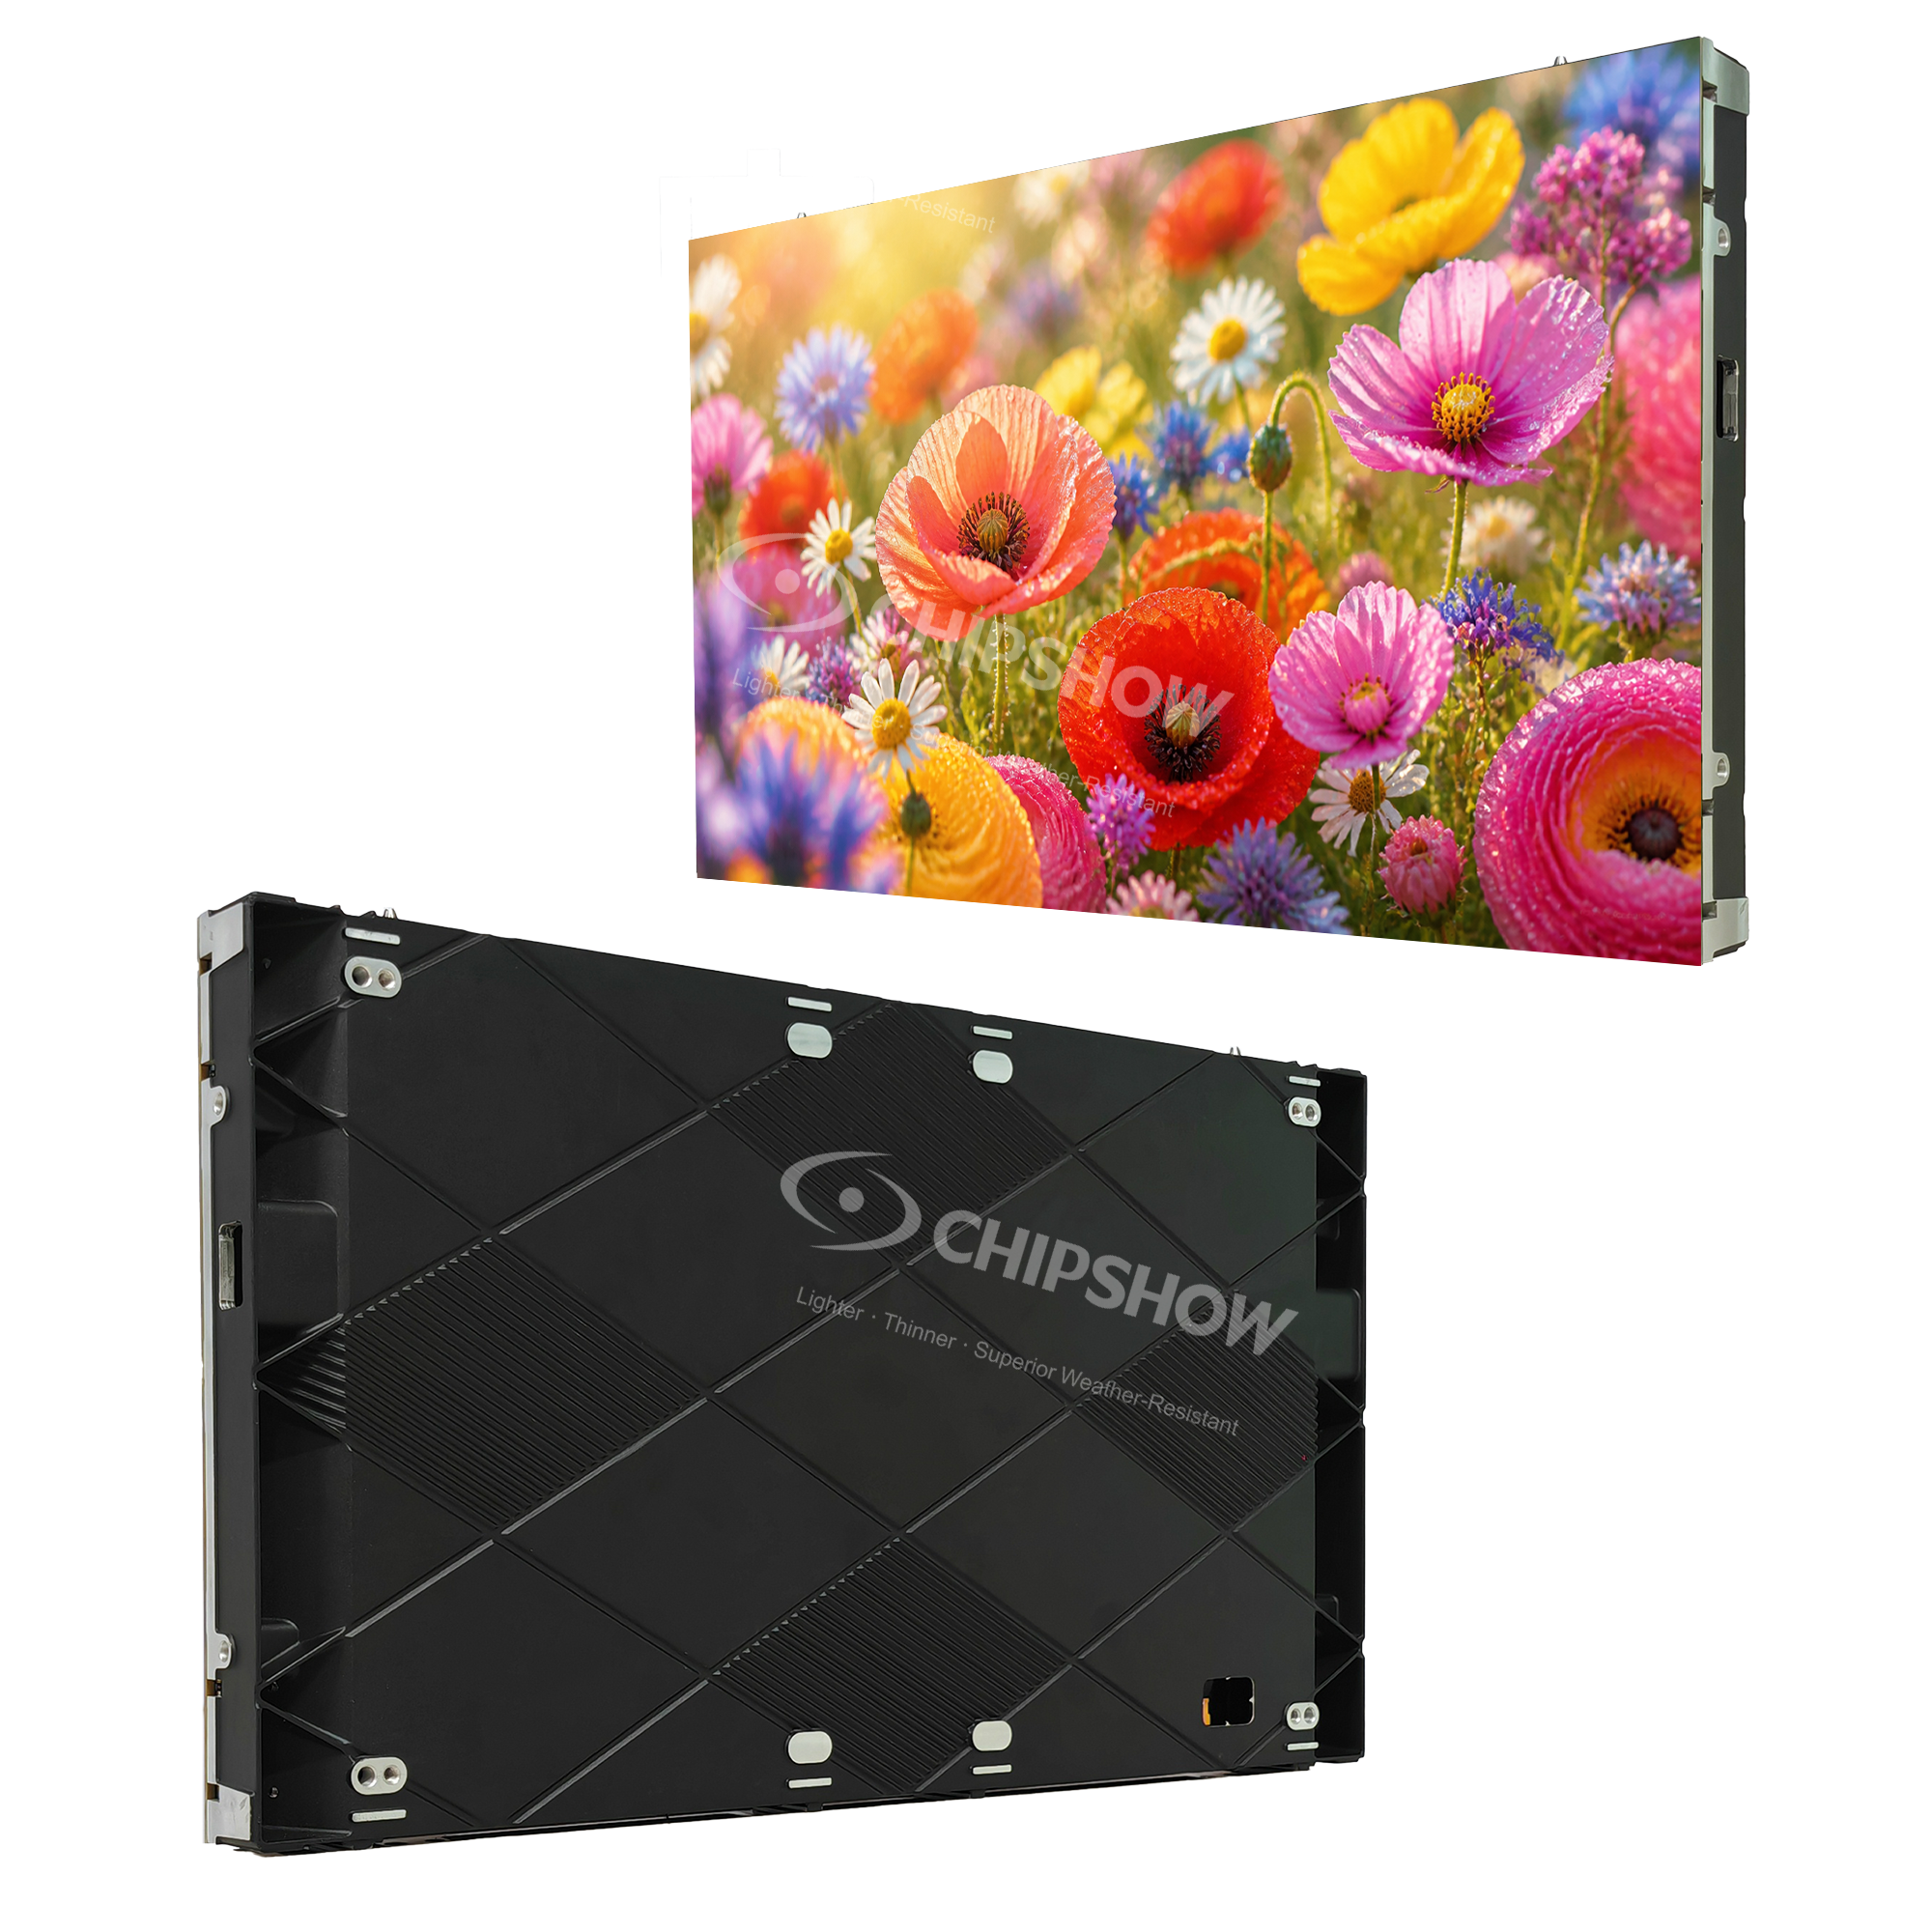
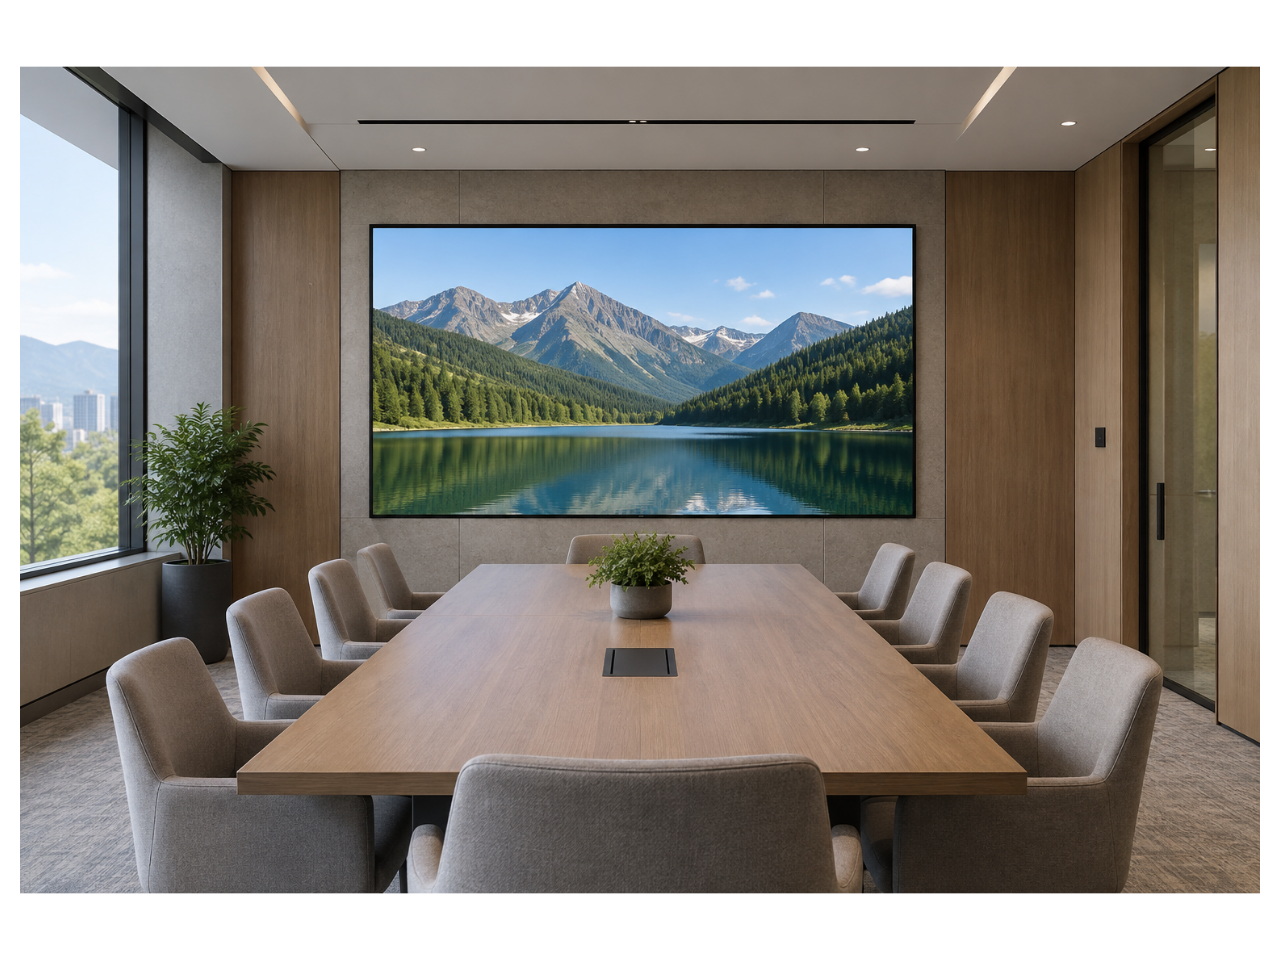
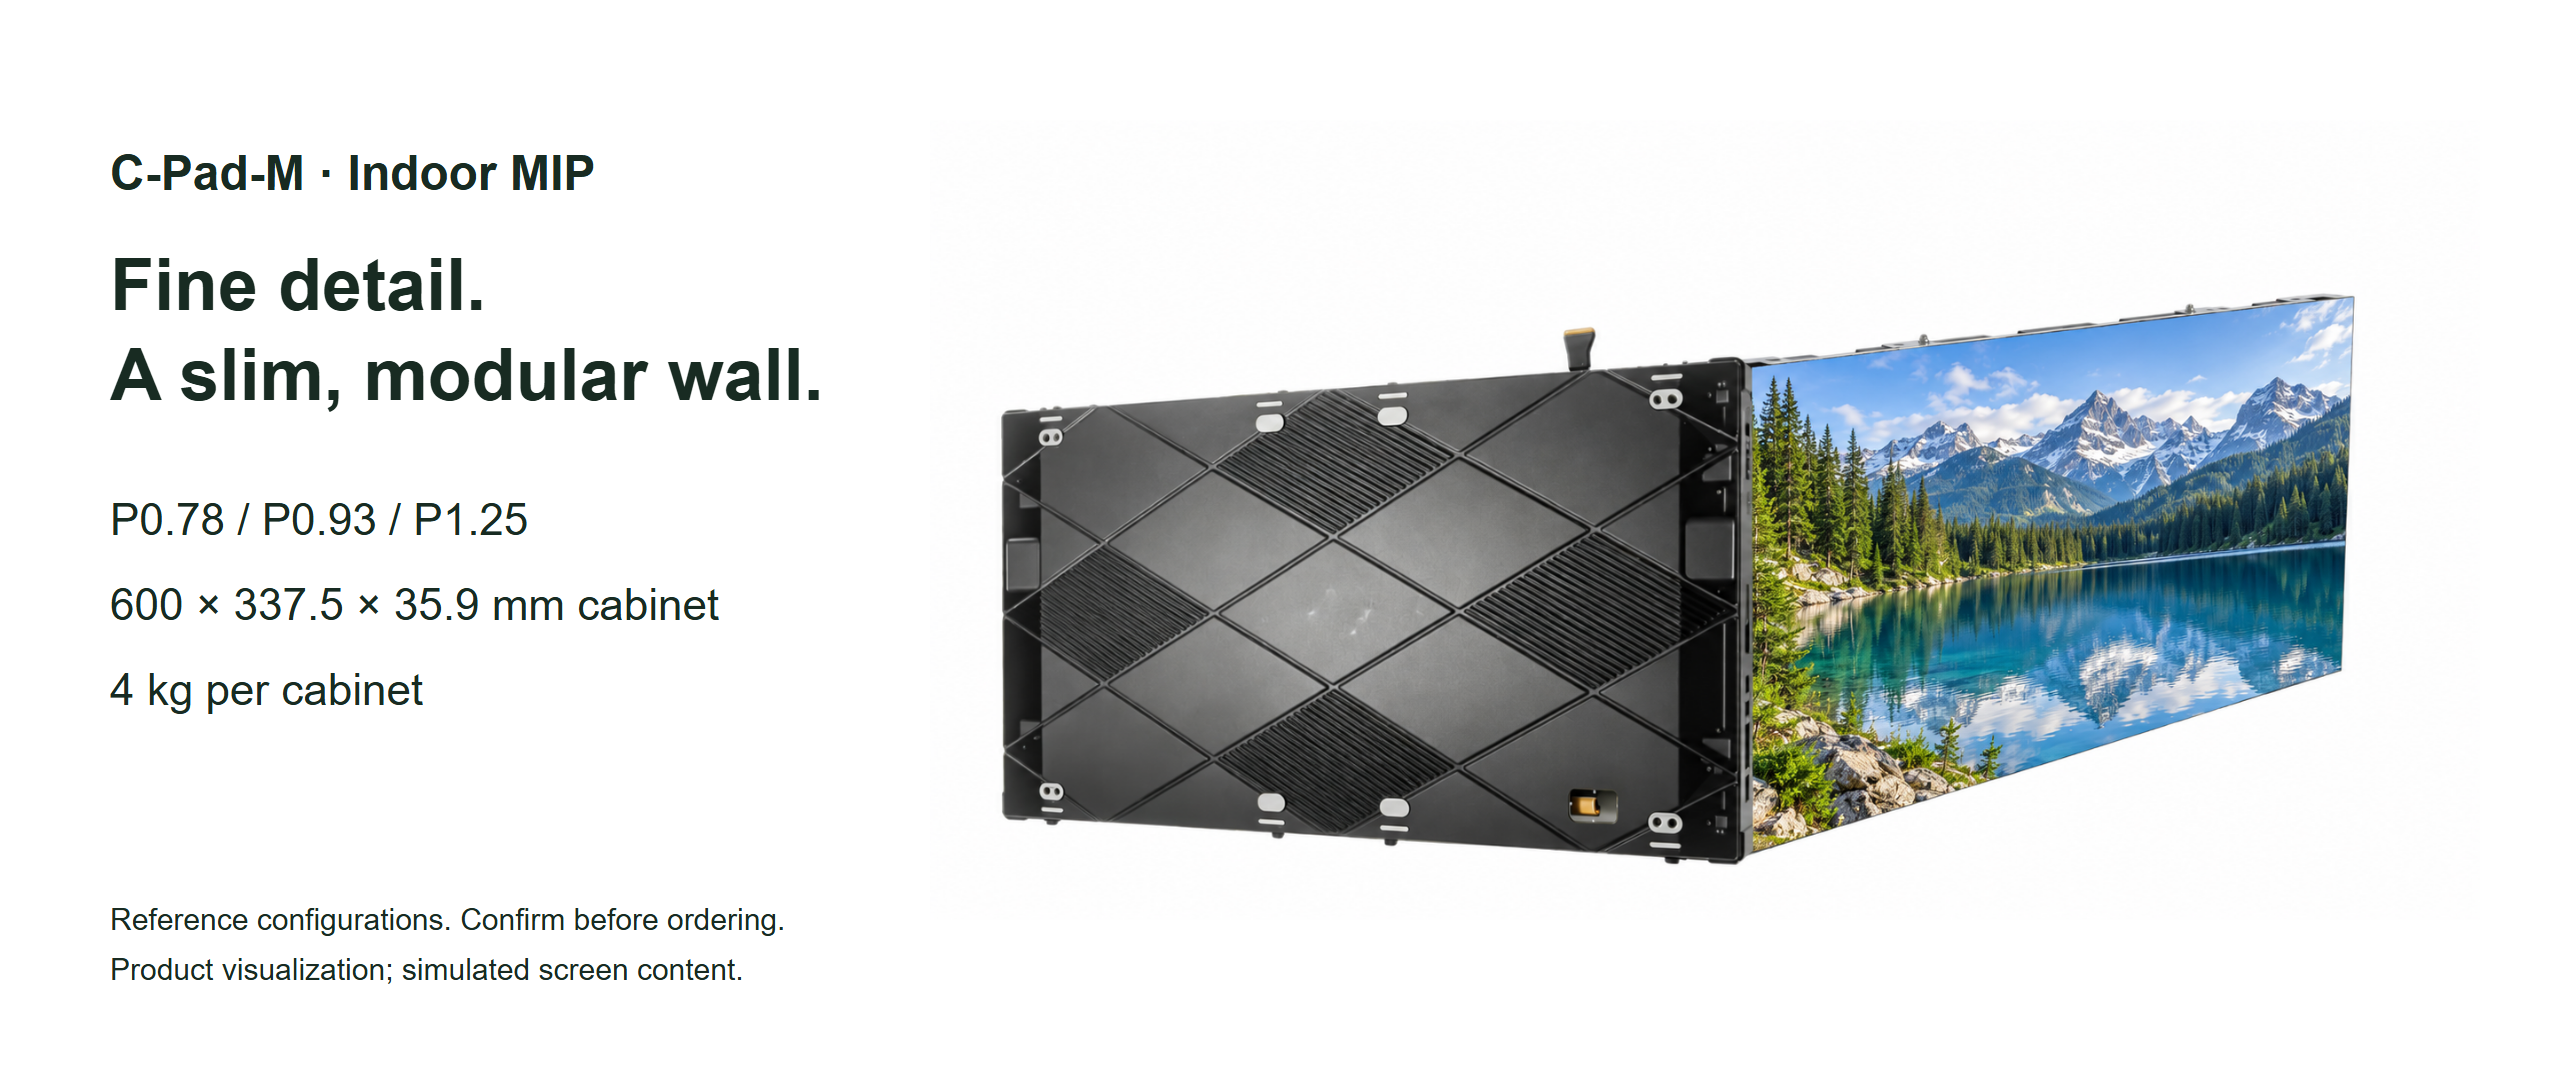
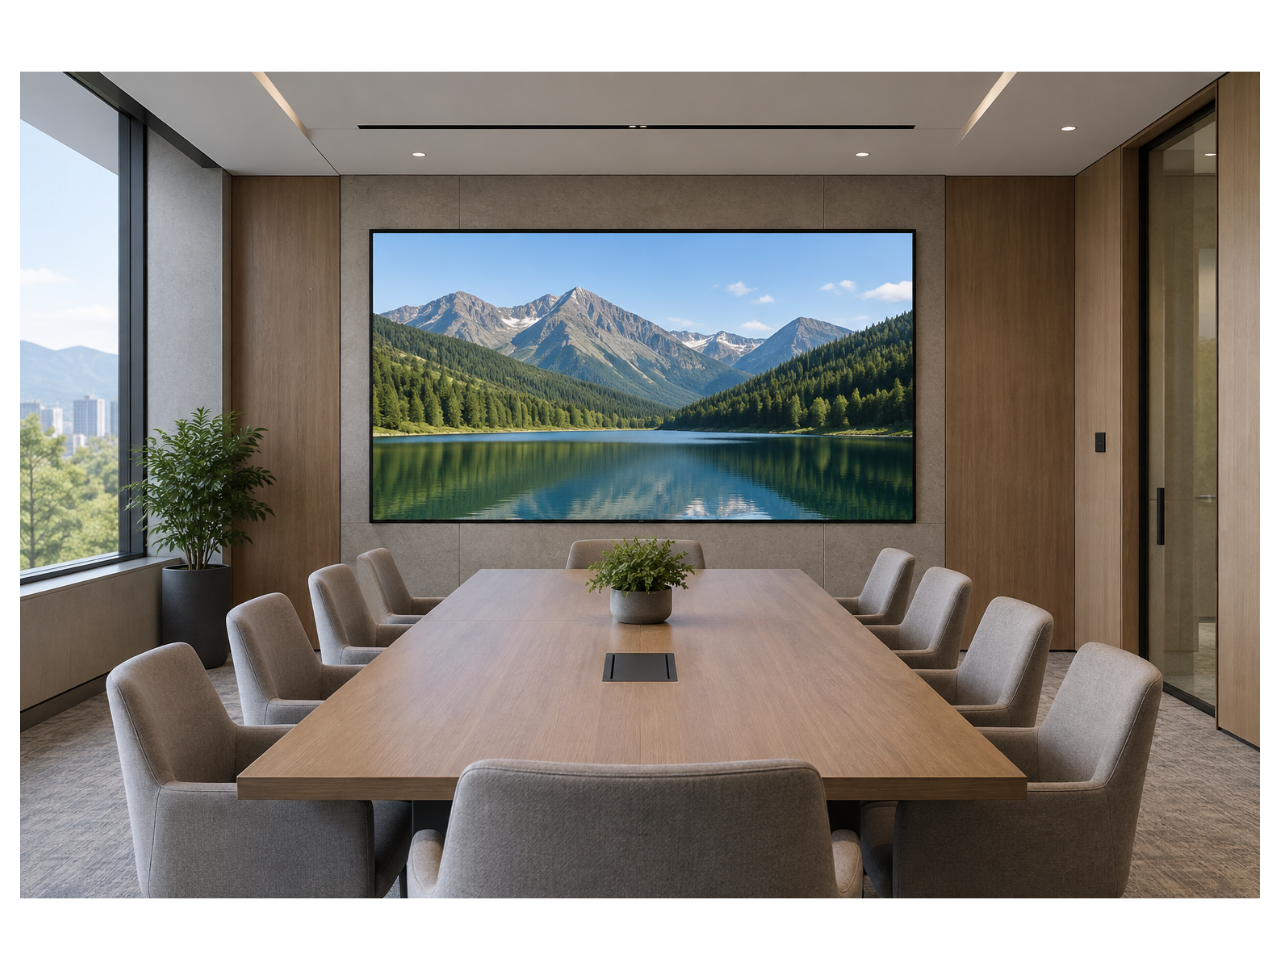
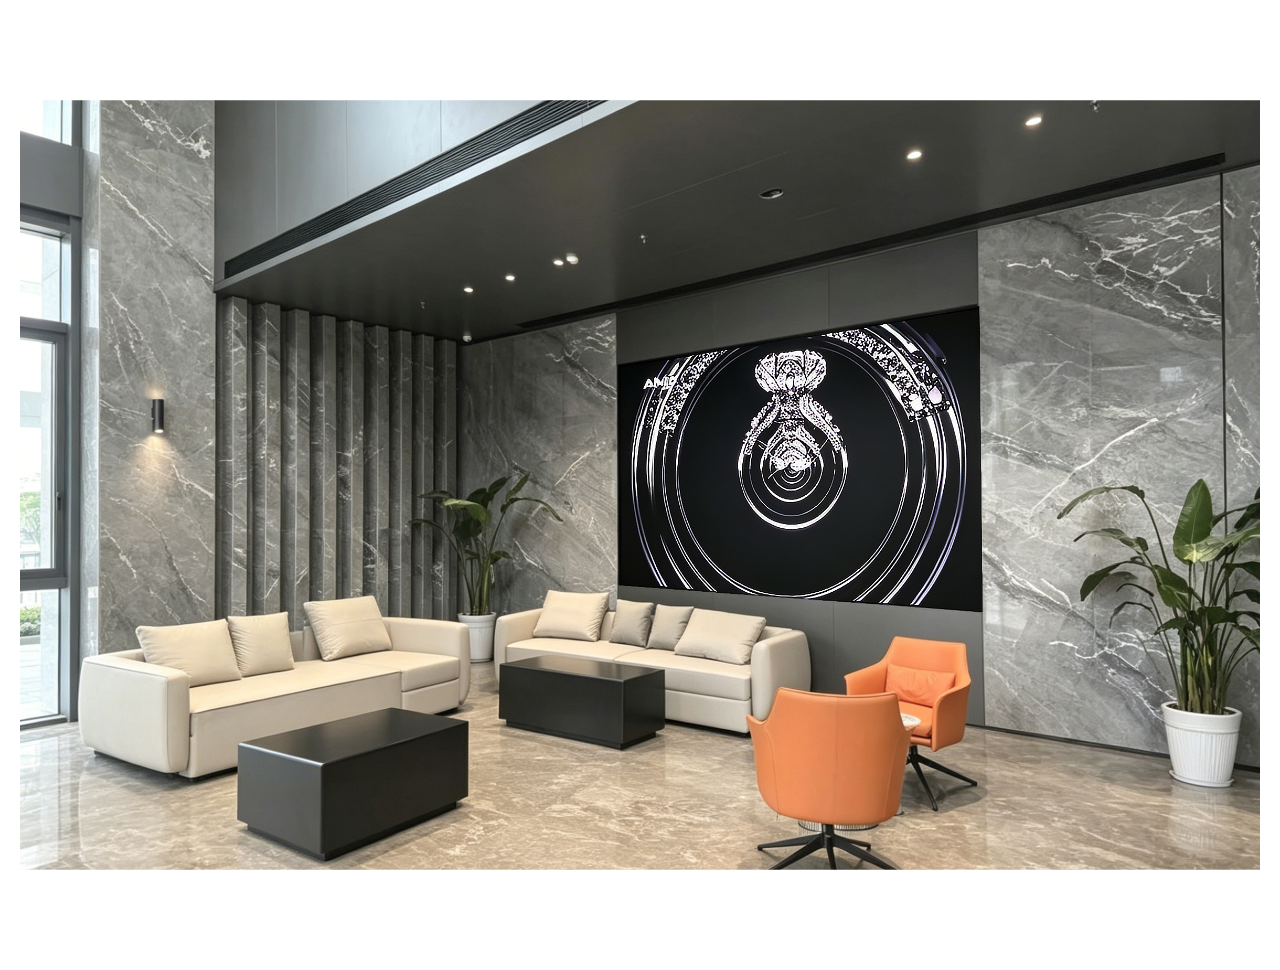
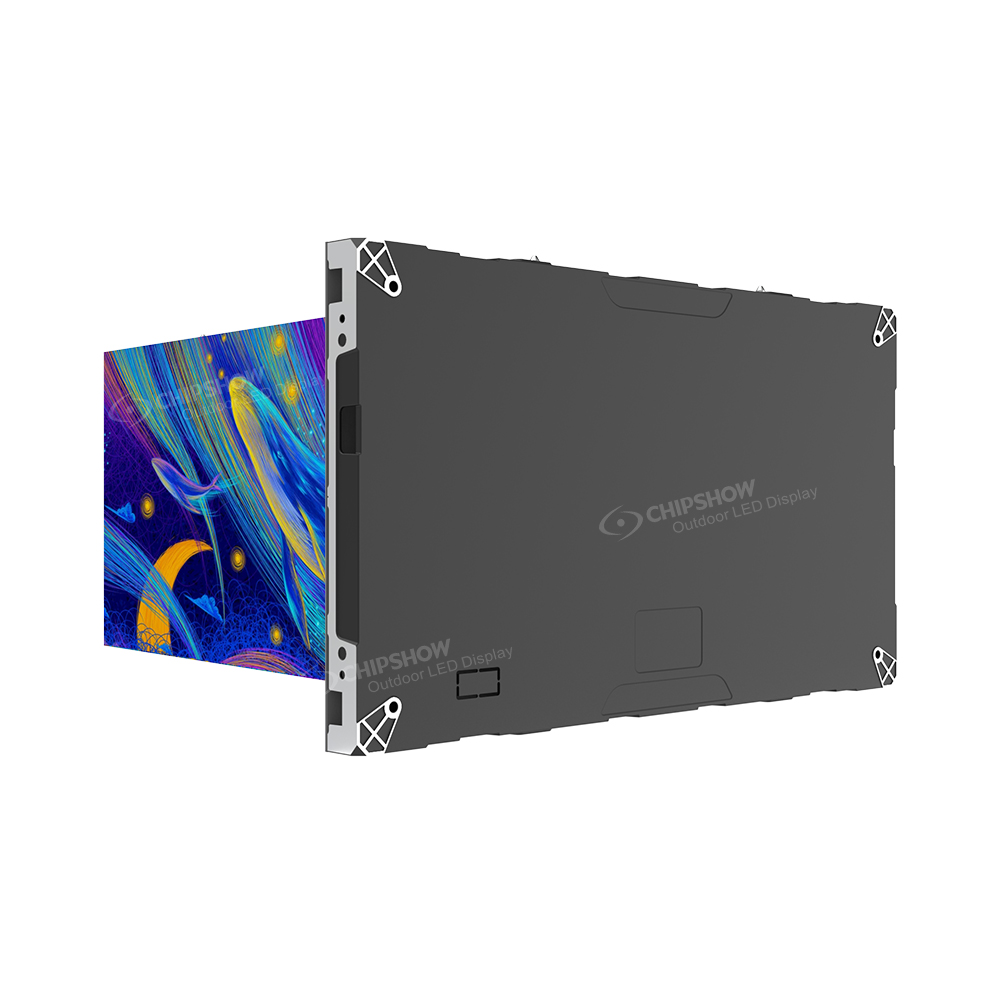
A display earns its place in a room when its scale works with both the architecture and the media. The widescreen cabinet face suits layouts built around common presentation and video formats. Begin with the clear wall opening, the sightlines and the images or presentations the team intends to show. Then use a cabinet grid to establish physical width and height. A single cabinet is the repeatable unit; the total wall dimensions depend on the chosen grid.
Pitch and cabinet count also determine the native pixel canvas. This matters when content producers prepare source files and when an AV partner maps the output. Ask the design and content teams to review the same layout drawing, so text placement, image crop and the finished wall size stay connected. Allow for the support, cabling and surrounding finish in the room drawing; the face of the screen is only one part of the completed installation.
Carry the design into an installation brief
A good shortlist becomes useful when everyone is working from the same version of the proposed screen. Give the AV and interior teams the selected pitch, cabinet grid, expected content types, room lighting and any camera use. Add the proposed control design, mounting approach and access route. Cabinet weight helps with handling and structural planning, but the total installed weight comes from the full grid and supporting assembly. Site structure and service arrangements belong in the project drawing.
Brightness should follow the chosen version and the way the room will be lit. A wall facing a window and one in a controlled exhibition setting create different viewing conditions, even when they share a content format. Discuss those conditions alongside the screen layout instead of treating a single brightness number as the whole answer. A filmed result also depends on signal processing and camera settings, so coordinate the proposed system with representative content. The table below keeps the configurations easy to compare. Values are specification references that may vary with configuration; the final proposal should identify the exact build offered.
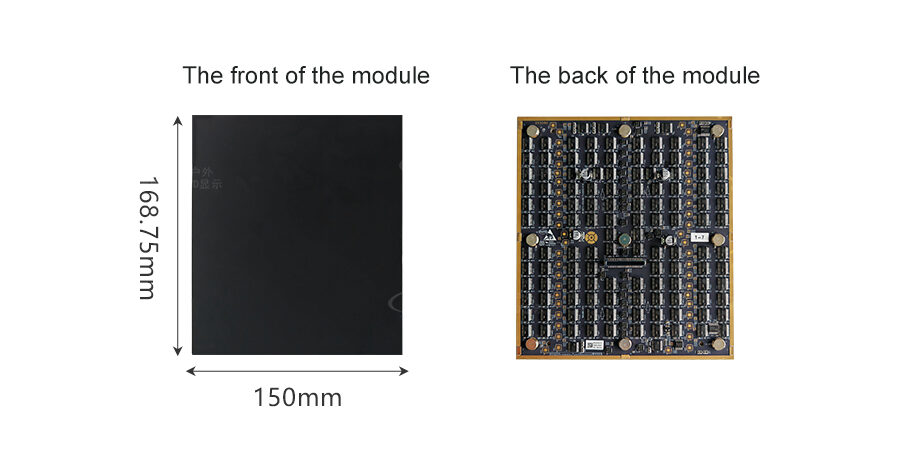
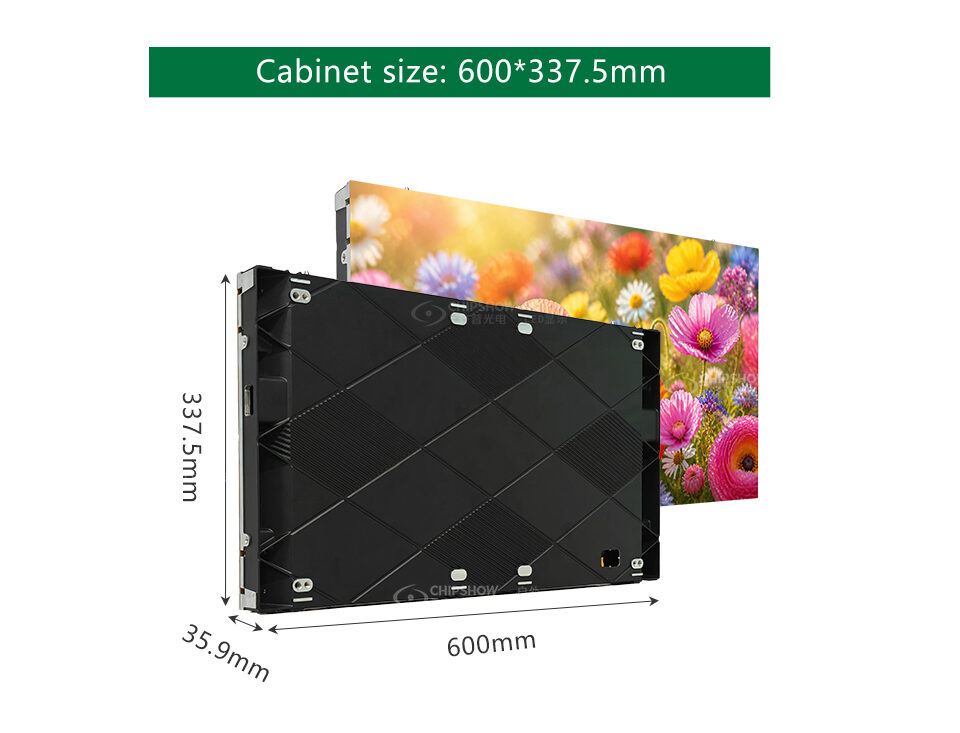
Cabinet and module dimensions
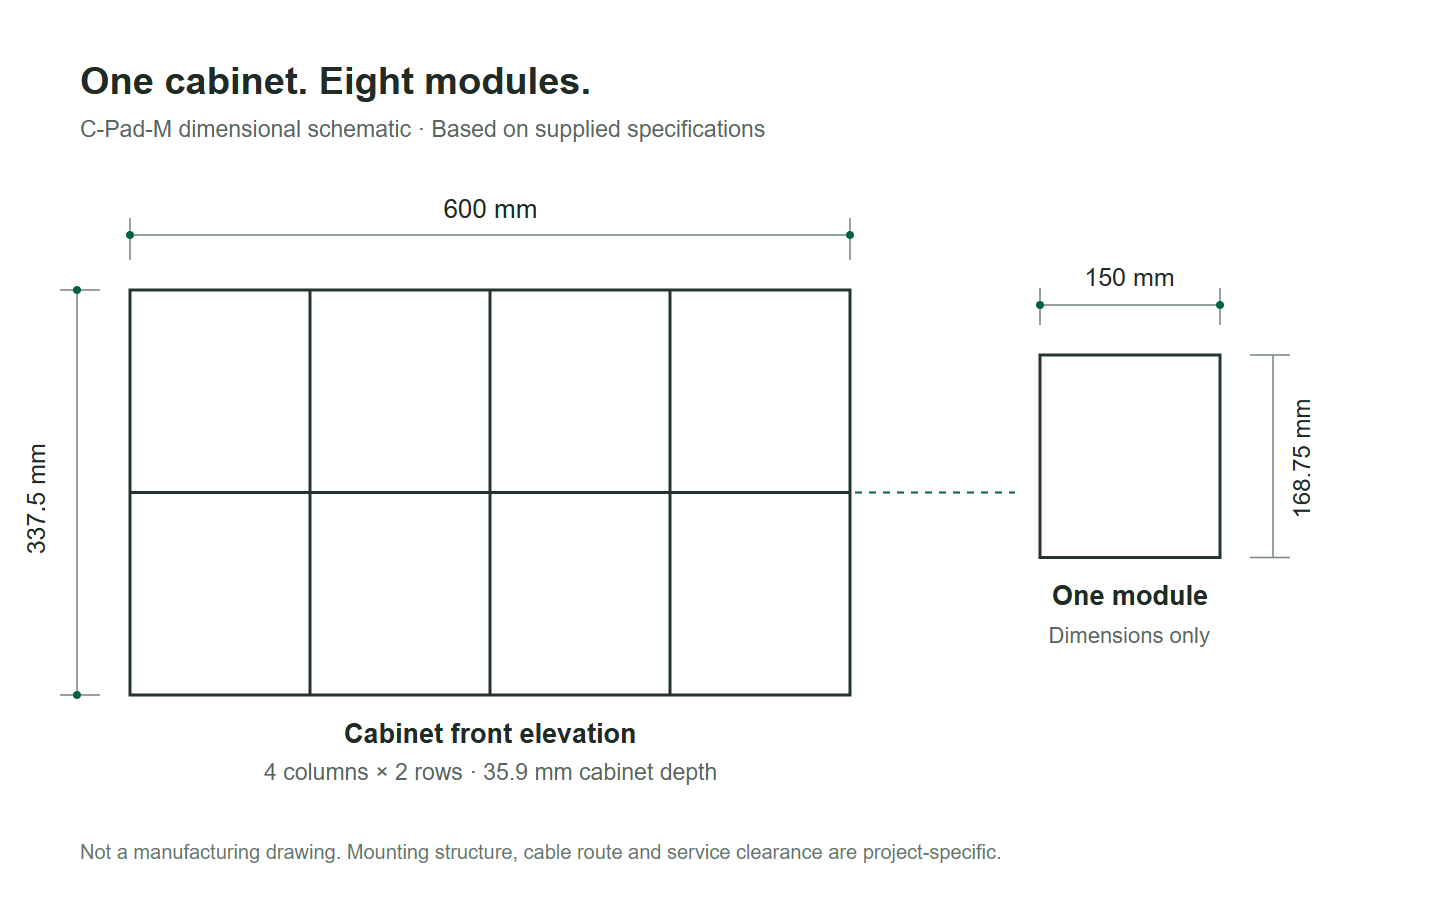
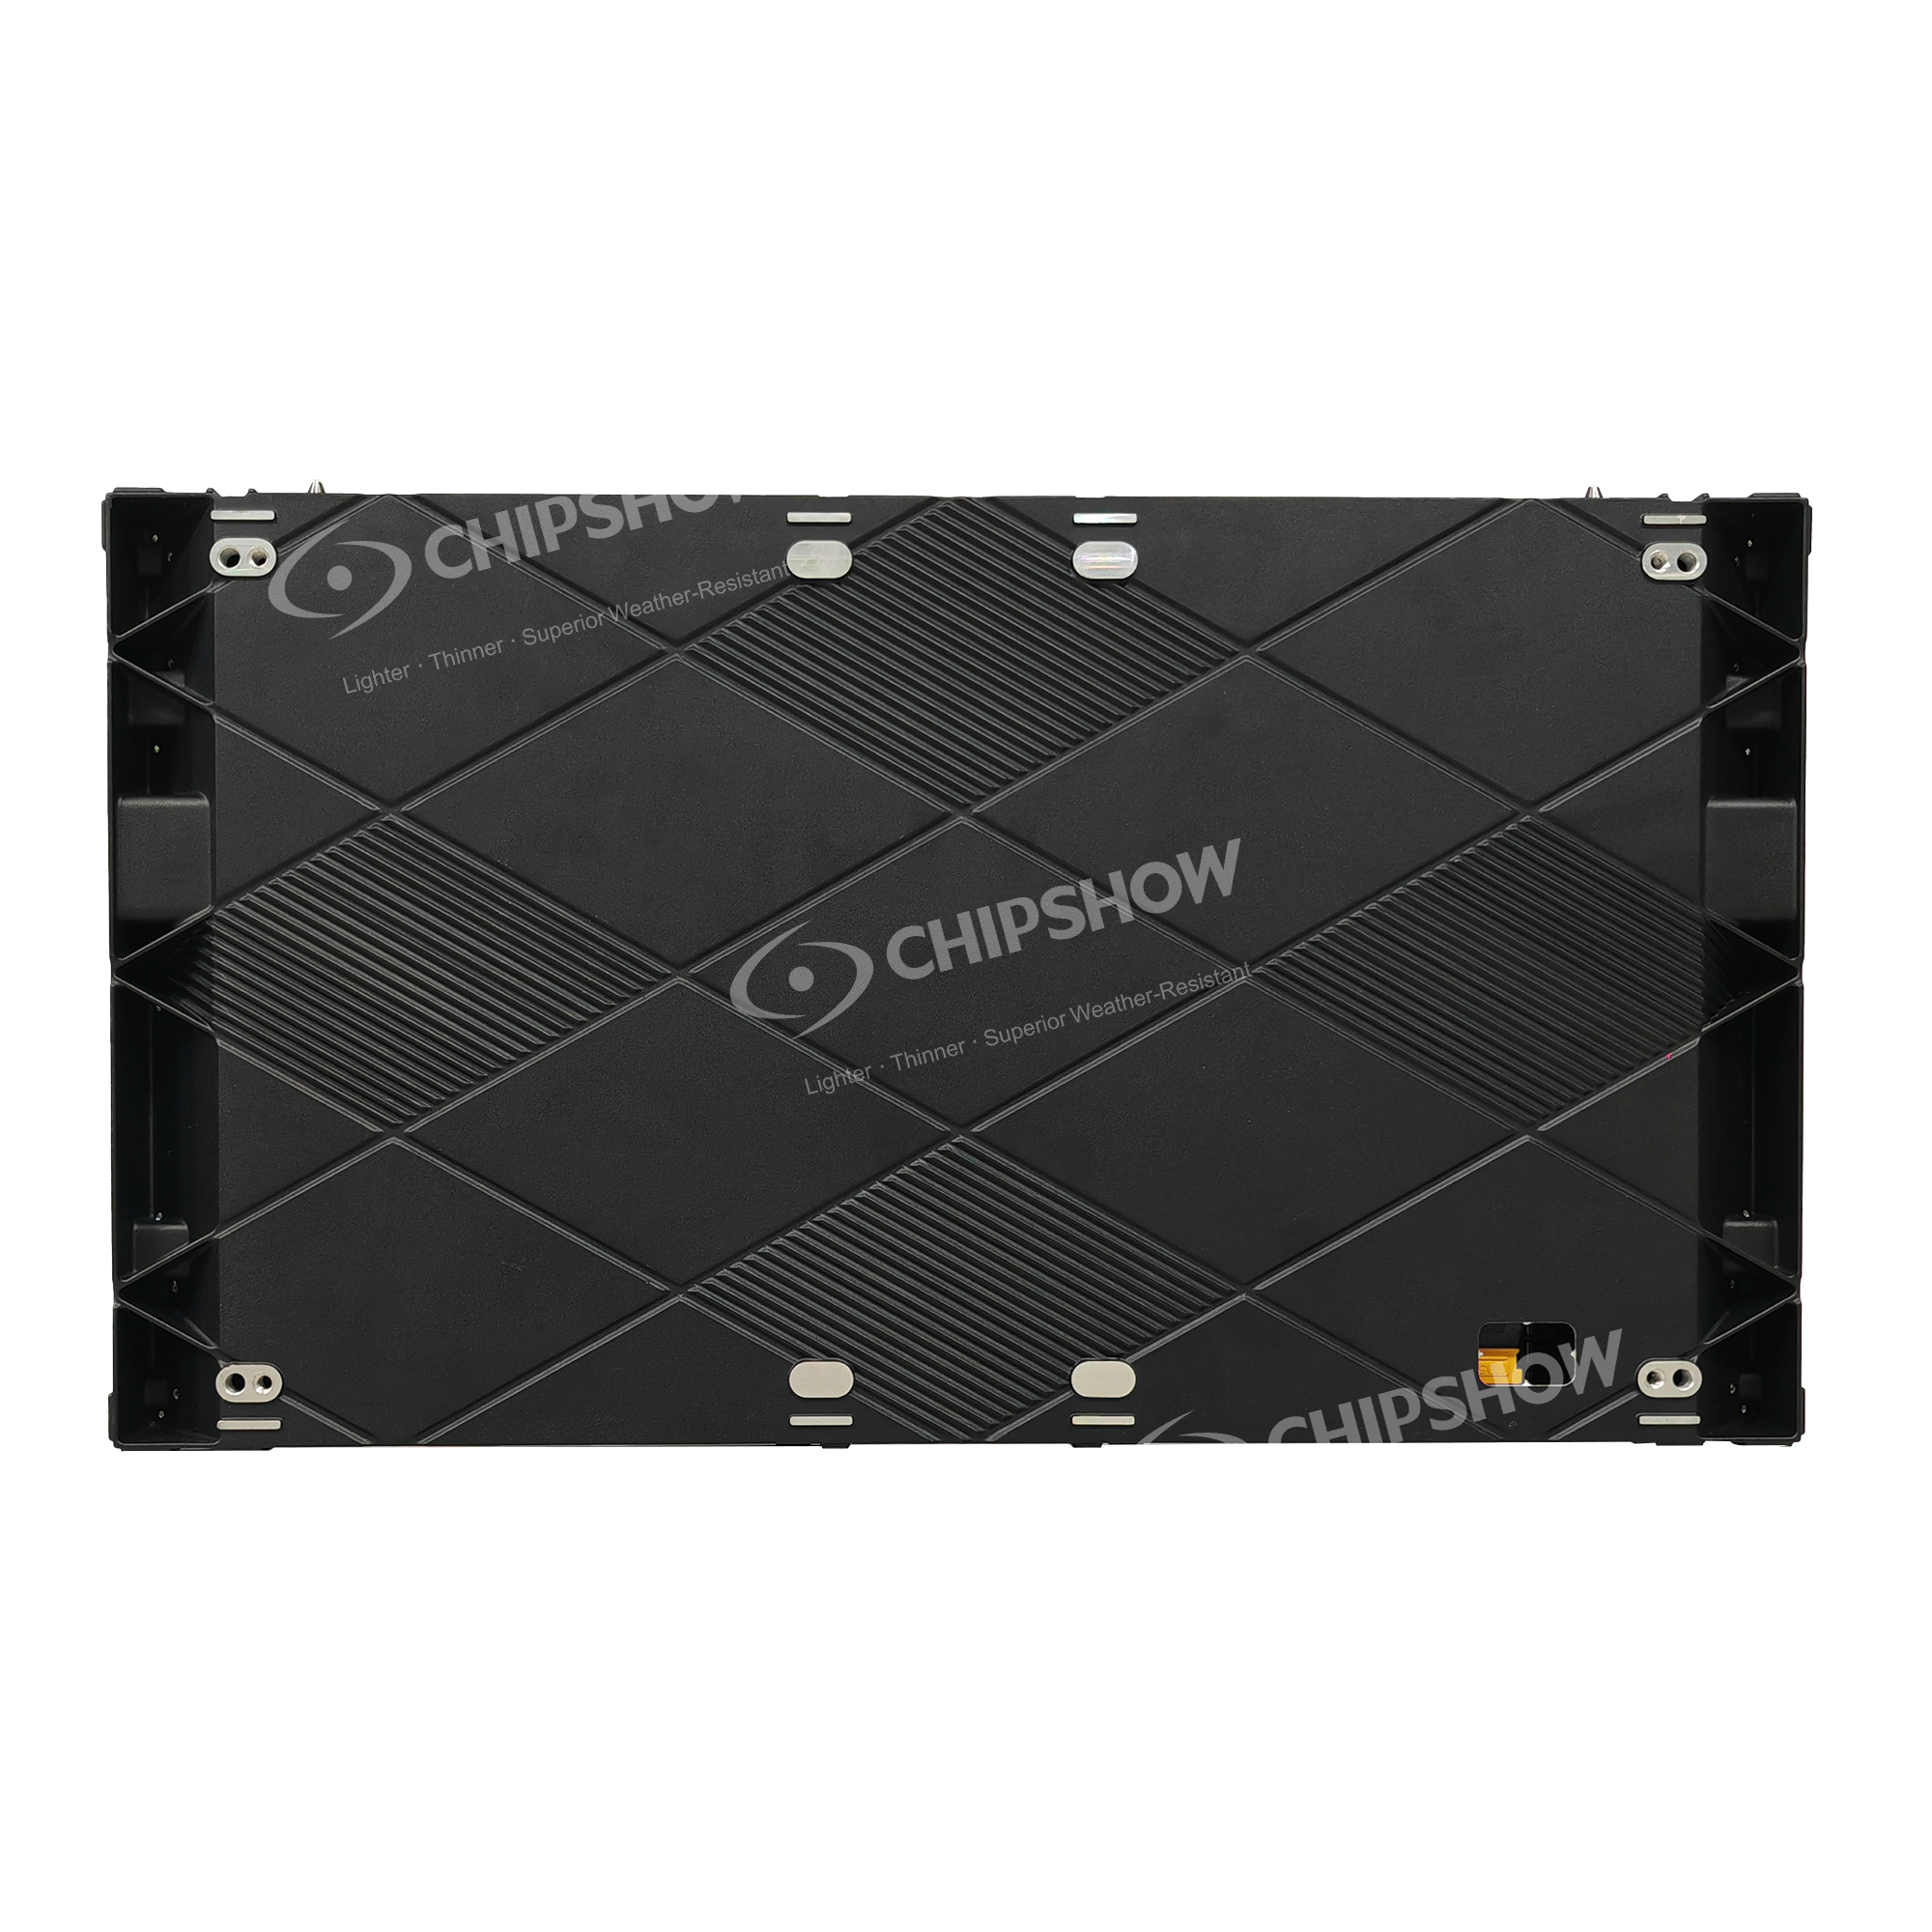
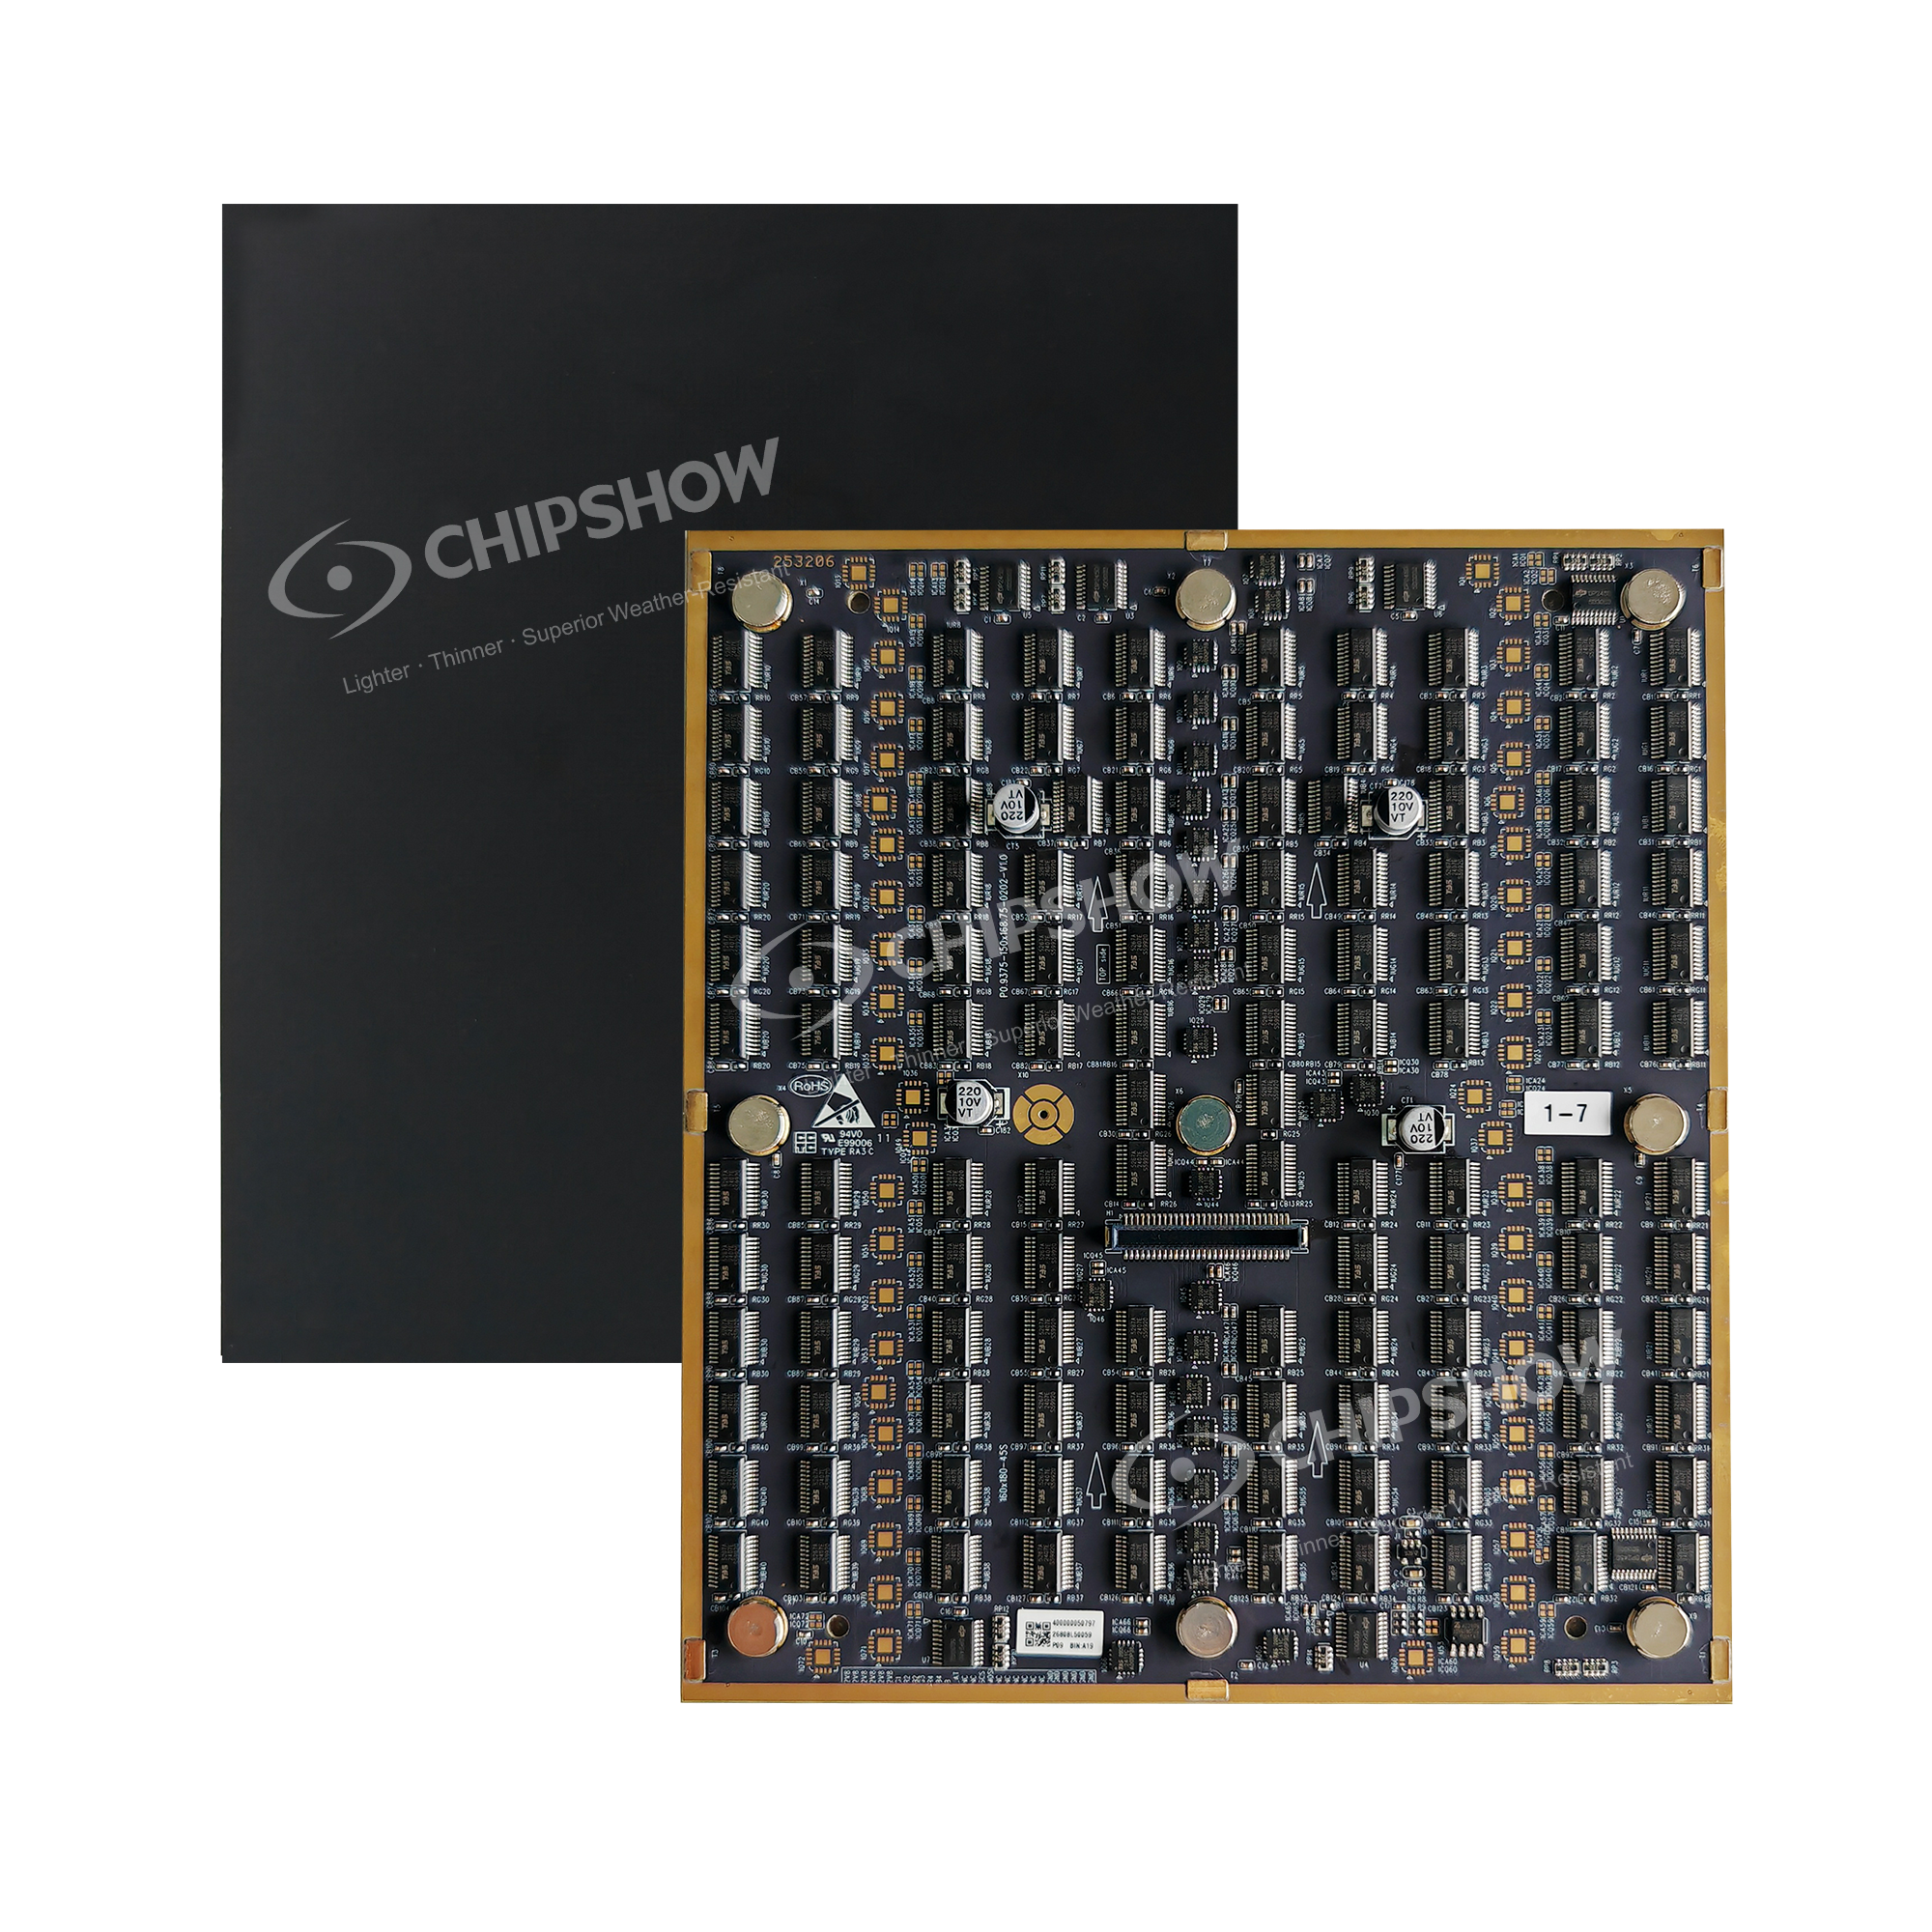
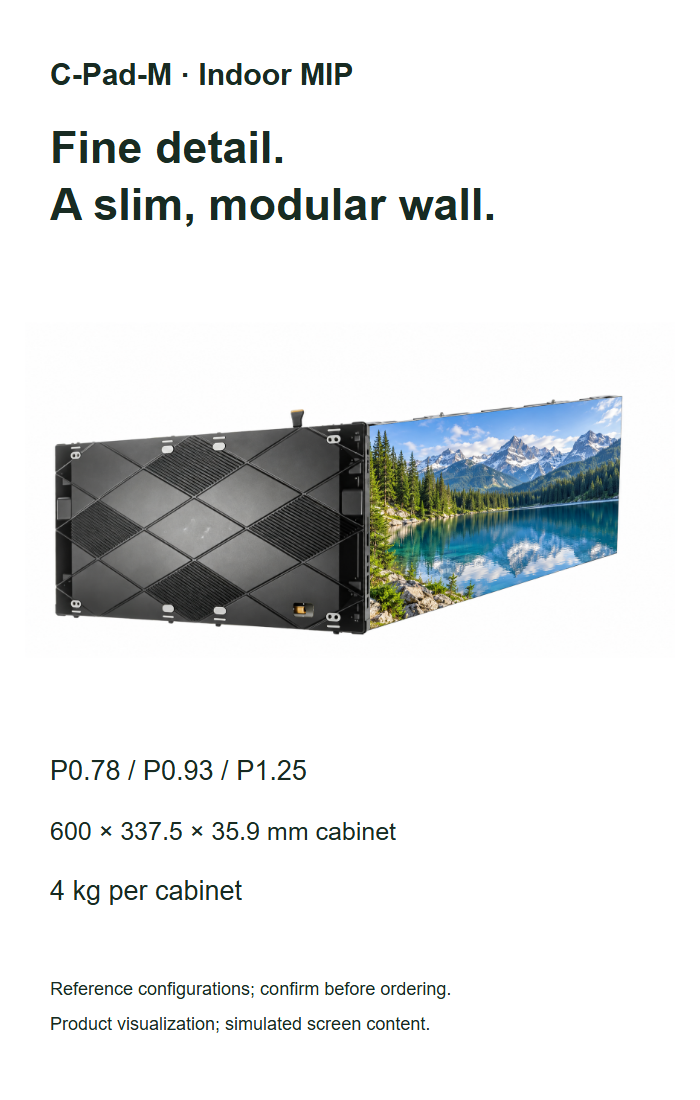
All three supplied configurations use 600 × 337.5 × 35.9 mm cabinets and a 4 kg cabinet reference. Parameters vary with configuration.