

Moiré appears when the camera turns the LED wall’s repeating pixel structure into a visible pattern. Start with the shot: camera position, lens, focus, subject distance and the wall behind it. Test that combination before booking the display, and check synchronization separately so a timing artifact is not mistaken for spatial interference.
Why Moiré Appears in XR LED Volumes
Moiré appears when repeating detail on the LED wall overlaps with the camera sensor’s sampling pattern. The wall may look smooth to the eye, but the camera can resolve the pixel lattice, scan behavior, or subpixel structure differently and turn that into bands, ripples, or false texture. Understanding and Reducing the Moiré Effect on LED Displays explains the same basic interference pattern.
This is not only a wall problem. Distance, framing, focus, lens choice, and image processing all change what the camera actually records. For most crews, the safest reading is simple: if the wall is near the edge of what the camera can sample cleanly, treat the issue as a system match problem, not a cosmetic defect.
Refresh mismatch and sync issues are related but different. Moiré is the spatial pattern problem. Timing mismatch is the temporal problem. A wall can be fine in shape but still flicker or shimmer if the camera and display timing are not aligned.
The practical takeaway is that XR LED volume moiré prevention has to cover the full chain, from wall design to processor behavior to camera setup. Fixing only exposure or only wall settings often leaves the real cause untouched.
Pitch Rules for Camera-Friendly Walls
Pixel pitch is the first screening variable because it affects how visible the LED structure can be on camera. Smaller pitch is generally more camera-friendly, especially when the camera will move closer, use longer lenses, or frame the wall tightly. But no universal pitch cutoff is safe to claim here, because the right answer changes with shot distance, lensing, and sensor detail.
The most useful way to judge pitch is to test the exact camera package against the exact wall. Sony’s camera-pitch validation workflow shows why pitch choice should be validated in context rather than guessed from a spec sheet.
Use the table below as a planning filter, not as a fixed rule.
| What changes the decision | What to check | What it means for pitch |
|---|---|---|
| Camera distance | Closest intended camera position | Closer cameras usually need a finer pitch to stay cleaner on sensor. |
| Framing size | Wide, medium, or tight shot | Tighter framing exposes more wall detail and raises the risk of visible structure. |
| Lens choice | Focal length and optical character | Longer lenses can make repeating patterns easier to see. |
| Sensor detail | Camera resolution and sharpness | Higher-detail capture can reveal LED structure the eye does not notice. |
| Motion | Pans, tilts, and focus pulls | Movement can turn faint patterning into visible shimmer. |
What matters most is the worst-case shot, not the easiest one. A wall that passes a wide master may still fail on a tight hero shot or a moving close-up. If the intended shot list includes both, test the hardest shot first.
For that reason, rental LED wall options should be compared only after the real camera and lens package are known. A wall that looks attractive on paper may not be the best fit if it cannot pass the exact framing you need.
A finer pitch can help the camera sample the wall more cleanly, but focus, lens choice, distance and image processing still affect the result. A sync error can create additional bands or flicker; it is not the cause of the wall’s spatial moiré pattern. Use the scan-line guide when the symptom points to timing.
Before final buy-in or rental commitment, run a camera test with the actual lenses, focal lengths, and subject distance you plan to use. Document the smallest acceptable distance and the shots that stay clean. If the team cannot test the real setup, lower the promise and treat any pitch claim as provisional. When a vendor offers test data instead of a live session, a guide to reading reliability test reports clarifies what such reports can and cannot prove.
Processor and Sync Rules That Keep Frames Aligned
Processor behavior matters because the wall needs a stable signal path, and the camera needs repeatable timing. In XR LED volume work, the processor is not the same thing as genlock. The processor handles signal flow and distribution. Genlock and timing alignment keep the camera and wall moving on the same cadence. ARRI’s discussion of genlock and timing alignment is useful here because it separates timing discipline from general signal handling.
That distinction prevents a common mistake: blaming the processor for every sync problem. Sometimes the processor is part of the issue, but sometimes the real problem is camera timing, reference, or a format change upstream. Treat the chain as a workflow, not a single device.
| Component | Primary job | What to verify | What can go wrong if ignored |
|---|---|---|---|
| Processor | Handles signal routing and image delivery | Stable output mode, scaling path, and wall behavior | Image changes from take to take or hidden conversions that soften the result |
| Genlock / reference | Aligns timing between camera and wall | A valid reference path where the system requires one | Drift, flicker, or timing artifacts that look like a wall problem |
| Camera timing | Keeps the sensor cadence in step with the wall | Frame rate and shutter settings that match the tested mode | Scanline artifacts or shimmer that appear only during capture |
| Wall configuration | Keeps the display behavior consistent | Same mode, same input path, same processor preset | Results that change after small system adjustments |
The phrase “nDisplay workflow” should be treated as a planning check, not a guarantee. It helps coordinate a virtual production setup, but it does not prove that every wall, camera, and processor combination will behave the same way. For what the wall itself does over months of operation, the XR volume calibration-drift workflow covers when to re-check after the initial alignment.
A useful pre-shoot habit is to lock one production mode before testing. Then verify the wall with live capture, not only from a monitor-side view. If the look changes when only timing changes, the sync chain is part of the issue. If the look stays tied to certain lenses or distances, the camera side is probably driving the result.
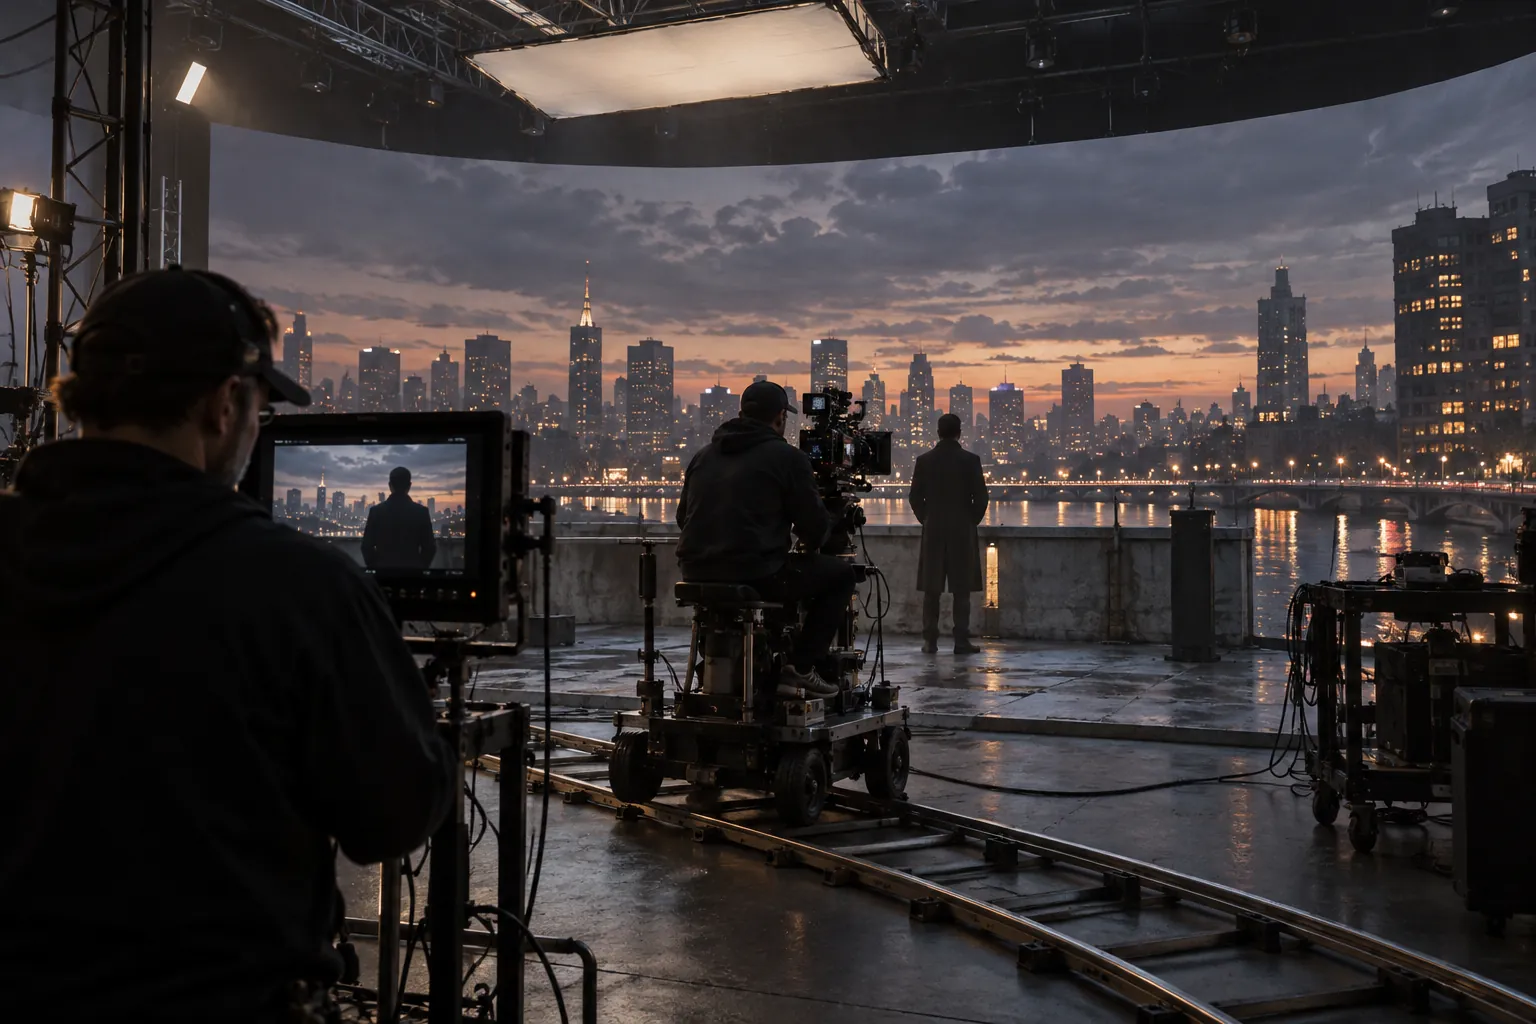
Use the LED volume setup guide to coordinate the wall, processor, tracking and render configuration. Bring the intended shot list to the supplier demonstration so the comparison includes the camera positions and moves the production will actually use.
Camera Settings That Make Moiré Worse or Better
Camera settings can reduce visible moiré, but they cannot rescue a bad wall-camera match on their own. The main goal is to avoid sharpening the LED grid into the recorded image and to keep the camera from resolving more micro-detail than the wall can support cleanly.
For spatial moiré, start with the visible LED pattern, lens, focus, aperture and camera-to-wall geometry. For rolling bands or pulsing, check shutter, frame rate and synchronization. Keep both passes in the camera test, but record which symptom each adjustment is intended to solve.
Focus, aperture, and lens choice also matter. In practice, the camera settings that reveal the grid most often are the ones that make the image too crisp for the wall. Slight focus shifts, different apertures, and different focal lengths can move the LED structure in and out of visibility.
A field-tested way to review the camera side is to run the same test slate every time:
- wide shot
- medium shot
- tight shot
- slow pan
- focus pull
- detailed wardrobe or prop
Sony’s virtual production guidance also treats the camera setup as part of the same capture problem, not a separate afterthought. Its camera and lens setup guidance reinforces the idea that the camera should be tuned for the wall, not just for the subject.
One more rule helps on set: do not assume the cleanest-looking monitor image will hold in motion. Moiré often becomes more obvious during pans, tilts, or focus pulls. If a shot is close to the limit, test it in motion before declaring it safe.
A Practical Troubleshooting Workflow
When moiré appears on set, start by separating the problem into timing, sampling, and camera settings.
- Confirm the artifact in recorded camera footage and compare the camera feed.
Check that monitor scaling is not introducing a separate pattern. - Freeze the setup.
Hold camera position, lens, and wall content steady so the result is repeatable. - Change one variable at a time.
Test lens, focus, shutter, timing, and processor mode separately. - Recreate the hardest frame.
Use the tightest shot, closest camera position, or most detailed subject that the scene requires. - Save the working configuration.
Record camera settings, wall mode, and processor preset so the team can restore them quickly.
This order works because temporal problems can look like spatial moiré, and spatial moiré can look like a camera problem. If the artifact changes when only refresh or format changes, inspect timing first. If it tracks lens and distance, adjust the camera side first. If it only shows up in one or two frames, check wardrobe, props, or content detail before reworking the whole wall.
A reliable stopping point is simple: do not call the problem solved until the exact shot that caused concern is clean. If that frame passes, the rest of the scene is more likely to hold.
Final Checks Before Shoot Day
Before the camera rolls, confirm the wall mode, sync reference, lens choice, and the shots most likely to expose panel structure. Run the real camera, real lens, and real move once more. If the hardest frame is clean, lock the setup and save it so the crew can restore it fast if anything changes.
Send Chipshow the proposed wall size, camera package, lens range and difficult shots. Ask for a configuration review and a camera test before booking or purchase, then keep the accepted settings with the production plan.
Use this as your last XR LED volume moiré prevention check: if the tested shot, wall mode, and camera package are documented, you can make a clear go/no-go call before the crew is on set.
FAQs
How Do You Prevent Moiré on an LED Volume?
Use a matched setup, not a single fix. The main levers are pitch, camera distance, lens choice, shutter timing, and sync validation. The fastest check is to test the hardest shot first, then keep the same settings documented for shoot day.
What Pixel Pitch Is Best for XR LED Volume Filming?
The best pitch depends on how close the camera gets, how tight the framing is, and which lenses are used. Smaller pitch usually helps, but the only reliable answer is to test the actual wall with the intended camera package.
What Refresh Rate Do You Need for LED Wall Filming?
There is no safe universal number to apply to every wall and camera package. Refresh needs depend on the full chain, including processor behavior and camera timing, so the practical step is to verify the intended filming mode before booking or buy-in.
How Do Genlock and nDisplay Work Together?
Genlock aligns timing, while nDisplay helps coordinate the virtual production workflow. They need to be validated together in the target setup because one does not automatically fix the other. The key check is whether the exact wall, camera, and processor chain holds in the tested mode.
Can Lens or Shutter Changes Fix Moiré Without Changing the Wall?
Lens, focus, aperture and camera-position changes can reduce spatial moiré without replacing the wall. Shutter and timing adjustments address temporal artifacts such as banding. Judge the result in the intended recorded shot, including movement and subject focus, so an improvement to the background does not compromise the scene.
When Should You Stop Troubleshooting and Re-Test the Whole Setup?
Re-test the full setup when the artifact changes after a timing change, a processor preset change, or a lens swap. If the problem follows the settings instead of the scene content, the system needs another camera test before the shoot is locked.