

An XR LED Wall must look clean on camera and remain reliable through repeated setup. Pixel pitch matters, but so do refresh behavior, synchronization, low-brightness grayscale, cabinet alignment, and service access. Film studios and rental teams should test the full system with their actual cameras, lenses, frame rates, and content. The final setup should also match crew workflow, transport needs, maintenance plans, and expected rental use.
Can a Rental LED Wall Be Used for Virtual Production?
Some rental panels work well for XR projects, but event-stage performance does not confirm camera suitability.
| Evaluation Area | Suitable for Further XR Testing | Needs Further Review |
| Pixel structure | The pitch matches the closest camera position and planned shots. | Pixels or module seams remain visible in footage. |
| Camera capture | Footage stays stable across planned shutter and frame-rate settings. | Flicker, scan lines, banding, or color breakup appears. |
| Processing | The processor supports sync, phase control, and color management. | The control chain has no verified timing setup. |
| Cabinet build | Locks produce flat, repeatable seams after several builds. | Alignment changes after transport or reassembly. |
| Maintenance | Modules, power units, and receiving cards remain accessible. | Repairs require removing several nearby cabinets. |
A rental LED wall becomes suitable for XR work after recorded footage meets the production team’s acceptance criteria.
When Rental LED Panels Are Suitable for XR Work
Rental panels suit XR projects when fine pitch, stable calibration, and accurate cabinet alignment work together. Reliable locks also keep wall geometry consistent across locations.
The processor and controller must support the planned camera workflow. The panels should retain stable color and grayscale across normal operating levels.
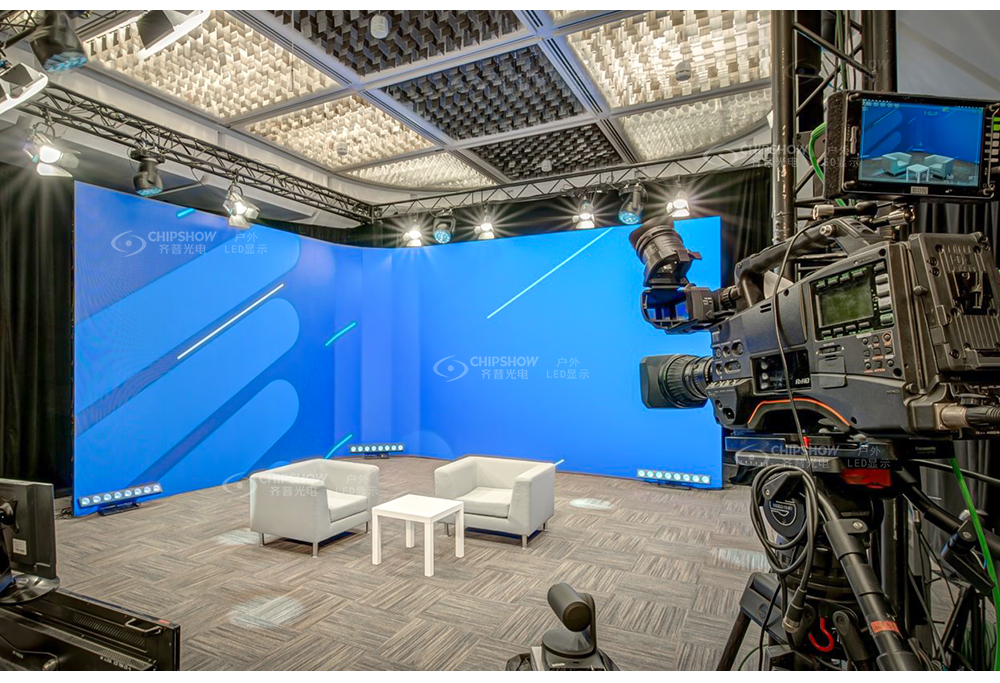
When a Film Studio Needs Higher-End LED Specifications
Full studio volumes place stricter demands on the screen and processing chain. Close shots, deep focus, high frame rates, and multiple cameras expose smaller image problems.
These projects often need finer pitch, stronger grayscale control, reliable sync, and repeatable calibration. Off-axis color also needs testing from every planned camera position.
Event Backgrounds, Corporate Shoots, and Full Studio Volumes
Each production type has different image and workflow requirements.
| Production Type | Typical Camera Use | LED Priority | Crew Priority |
| Event XR background | Medium and wide shots | Stable refresh and clean seams | Fast load-in and lower freight costs |
| Corporate content shoot | Presenter shots and controlled camera moves | Fine pitch and natural skin tones | Quiet operation and quick repairs |
| Full studio volume | Tracked cameras, close shots, and several viewpoints | Sync, calibration, fine pitch, and grayscale control | Repeatable geometry and controlled service access |
A panel may serve several production types. Each setup still needs its own camera test.
How to Match Pixel Pitch With Camera Distance and Shot Type
Camera distance, lens settings, focus, and shot composition should shape the pixel pitch decision.
| Production Condition | Tighter Pitch Often Works Better | Wider Pitch May Pass |
| Camera position | The camera operates close to the wall. | The wall remains farther behind the subject. |
| Shot size | Close-ups retain visible background detail. | Wide shots capture less wall detail. |
| Focus | The wall stays close to focus. | Shallow focus softens the background. |
| Lens range | Several tested lenses reveal the pixel structure. | Selected lenses keep the structure out of view. |
| Budget | Shot flexibility has greater commercial value. | Fleet utilization has greater commercial value. |
Smaller pitch provides higher pixel density and usually raises panel cost. Select the widest pitch that passes every required shot.
Close-Up Shots Need Tighter Pixel Pitch
Close shots place the LED grid near the camera sensor’s resolving limit. Fine pitch reduces visible spacing and supports a wider lens range.
Tighter pitch also preserves background detail when the wall stays near focus. It cannot prevent moiré under every camera setup.
Wide Shots Can Use More Cost-Efficient Pitch Options
Wide shots capture fewer wall pixels across each subject area. A wider pitch may deliver acceptable footage at a lower cabinet cost.
Rental teams can then use the same panels for livestreams, corporate stages, and event backgrounds. Recorded tests should confirm texture, seams, and color consistency.
Moiré Risk Depends on Pixel Pitch, Lens, and Distance
Moiré comes from spatial interaction between the LED grid and camera sensor. Refresh rate cannot remove that pattern.
Focal length, aperture, focus, sensor mode, camera angle, and wall distance all affect the result. Test one setting at a time and record each change.
A panel may show moiré with one lens but remain clean with another. Small aperture or focus adjustments can also change the pattern.
What Camera-Safe Specs Matter for an XR LED Wall
Camera performance comes from the full LED and signal chain. A single high specification cannot guarantee clean footage.
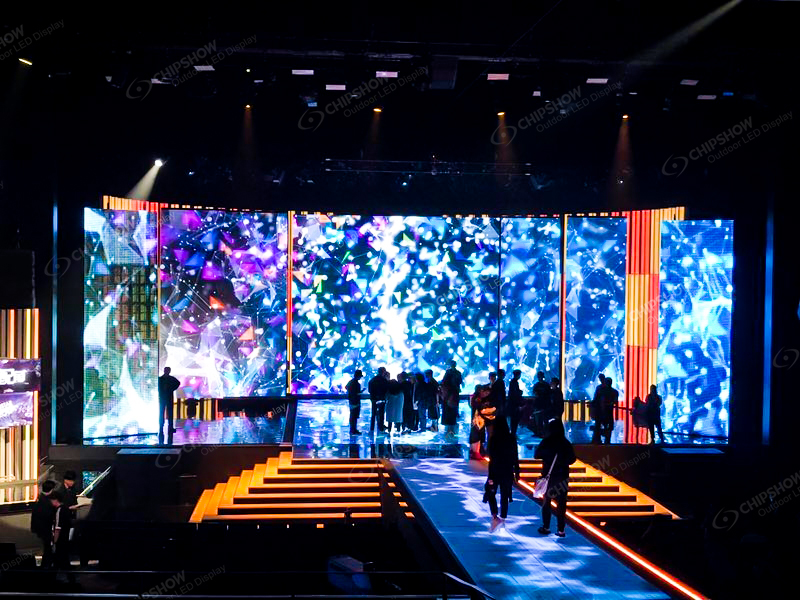
Why 3,840 Hz or Higher Should Be the Baseline
A refresh rate of 3,840 Hz is the current baseline for camera-facing indoor LED work. Demanding XR and broadcast projects may use 7,680 Hz or higher.
Higher refresh gives crews a wider range of usable shutter settings. It cannot correct weak driver settings, poor calibration, or an unsuitable panel configuration.
Refresh Rate Helps Control Flicker and Scan Lines
Refresh rate affects the interaction between LED timing, camera exposure, and sensor readout. Poor timing may create flicker or visible scan lines.
Scan ratio, driver IC configuration, and pulse-width modulation also affect recorded footage. Every planned camera mode needs testing under production settings.
Flicker, scan lines, banding, and moiré are separate problems. Each one requires a separate test and adjustment process.
Genlock Keeps the Camera and LED Wall in Sync
Genlock is part of the complete system, rather than a cabinet feature. It places supported cameras and video devices on a common timing reference.
Phase adjustment can align the LED refresh cycle with camera exposure. Correct timing reduces visible bars and other sync-related artifacts.
Matching the frame rate alone does not synchronize the full chain. The camera, processor, render system, and output timing must work together.
Low-Brightness Grayscale Protects Color Depth
XR stages often run below maximum brightness to balance screen output with set lighting. The image still needs clear shadows and stable neutral colors.
Test gray ramps, dark gradients, skin tones, and saturated colors at several brightness levels. Review the results through the production camera.
A 10-bit or higher signal path is worth testing from content playback through the processor. The recorded image should show smooth gradients without obvious banding.
Which Cabinet Features Improve Rental Efficiency and Studio Reliability
Cabinet design affects handling, freight, seam quality, setup time, and the number of billable rental days.
| Cabinet Feature | Operational Value | Procurement Check |
| Lower cabinet weight | Cuts handling effort, freight load, and structural demand. | Calculate touring weight with cases, bars, cables, and spares. |
| Rigid frame | Keeps seams flatter after transport and repeated assembly. | Inspect corners and alignment after several build cycles. |
| Fast locks | Reduce rigging and alignment time. | Check lock wear, adjustment range, and bar compatibility. |
| Modular sizes | Support different wall heights and stage layouts. | Confirm that mixed sizes retain alignment and calibration. |
| Front or rear service | Shortens repairs under different access conditions. | Time module, power-unit, and receiving-card replacement. |
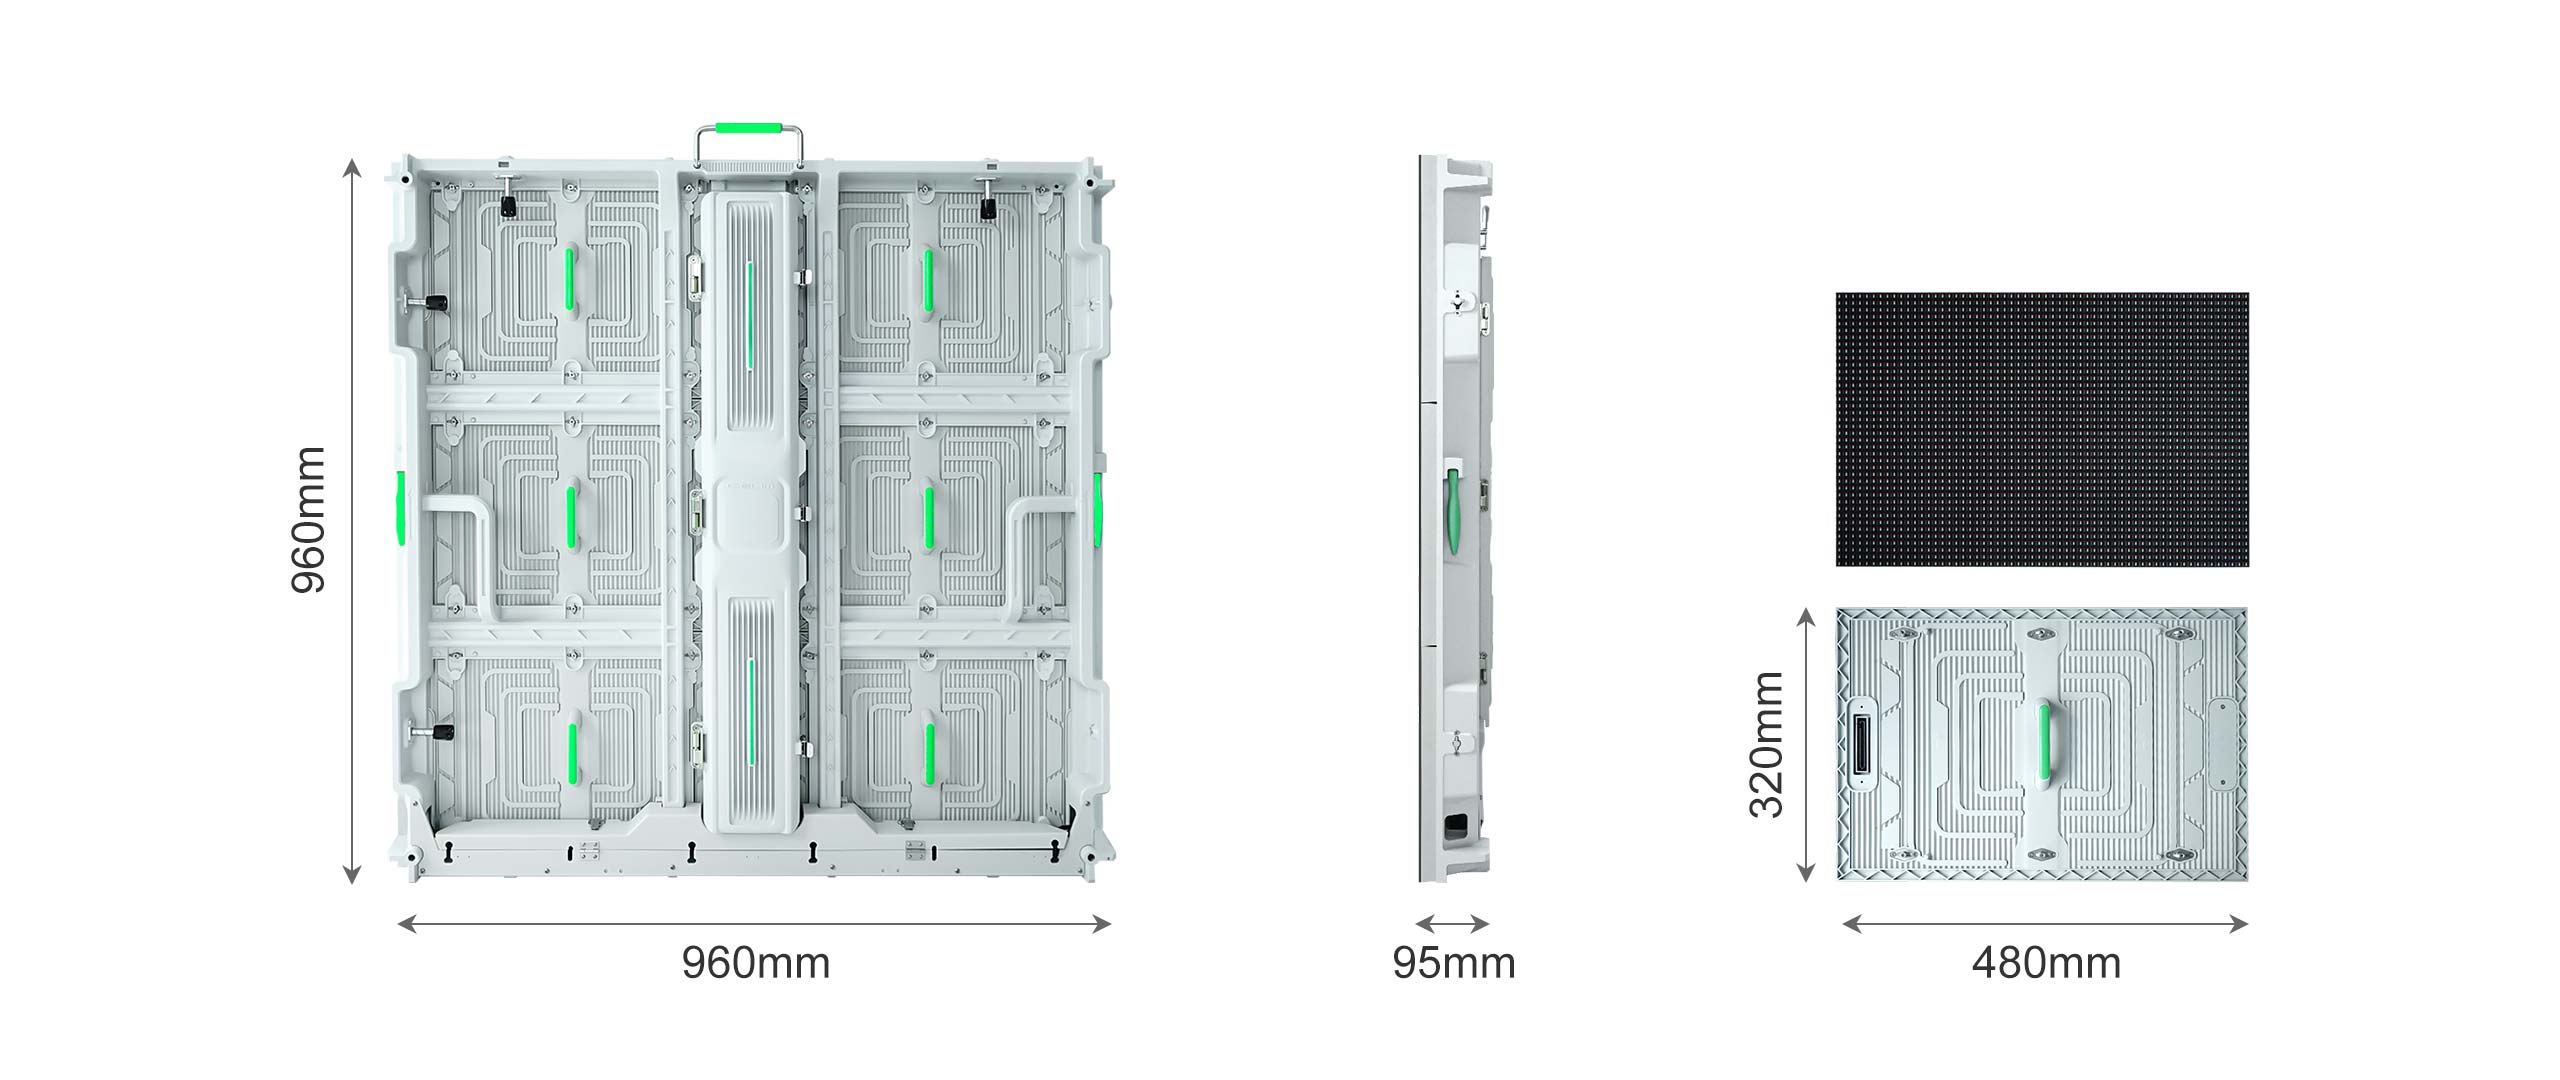
Lightweight Cabinets Reduce Labor and Freight Costs
Lower cabinet weight reduces manual handling and transport demand. Full-system weight matters more than the panel figure alone.
Flight cases, rigging bars, processors, cables, and spare modules all add to the shipping load. These items belong in every freight estimate.
A lighter structure may also reduce truss and support requirements. Final rigging plans still need approval from a qualified engineer.
Carbon Fiber Structures Support Faster Touring Workflows
Carbon-fiber construction combines low panel weight with a rigid large-format frame. Rental teams should still check corners, locks, handles, and repeated-build alignment.
Projects with close camera work can shortlist Chipshow C-Shine Plus. Available pitches include P1.9, P2.6, P2.9, and P3.9.
Selected configurations support refresh rates up to 7,680 Hz. The fanless design also suits studios and venues with strict noise limits.
Large wide-shot walls can shortlist C-Carbon P3.91. Its carbon-fiber cabinet measures 1,000 × 1,000 mm (39.4 × 39.4 in).
Each cabinet weighs 20 kg (44.1 lb). The large format reduces cabinet count across broad event and XR backgrounds.
Both series still require testing with the planned camera, lenses, and frame rates.
Fast Locks and Modular Cabinets Speed Up Setup
Fast locks reduce alignment time when cabinet tolerances remain consistent. Modular sizes also support different stage heights and wall layouts.
Inspect lock wear, corner protection, seam repeatability, and hanging-bar fit. Fast assembly has little value when geometry changes after transport.
Repeated setup tests should use the same crew procedures planned for live projects. This reveals handling issues that a showroom build may hide.
Front Serviceability Reduces Downtime During Shoots
Front access suits permanent volumes with little room behind the wall. Rental teams may also need rear access for backstage repairs.
Module replacement should leave neighboring cabinets in place. The repaired area also needs fast calibration recovery.
Service tests should cover modules, power supplies, receiving cards, data cables, and control equipment. Record the repair time for each part.
How Should Buyers Test an XR LED Wall Prior to Purchase or Rental
A useful acceptance test should copy the planned camera, lighting, processing, content, and rigging conditions.
Test With the Actual Camera, Lens, and Frame Rate
Use the production camera body, sensor mode, lens set, aperture range, and recording format. Test every planned frame rate and shutter setting.
Connect the intended tracking, rendering, processing, and sync equipment. A substitute camera may hide issues that appear during production.
Run tests with dark scenes, bright scenes, fine patterns, skin tones, and moving subjects. Review both live output and recorded files.
Check Flicker, Scan Lines, Banding, and Moiré Separately
Treat every artifact as a separate issue. Each one has different causes and adjustment paths.
Change one variable during each test. Log refresh rate, shutter, phase, brightness, lens, distance, focus, and camera angle.
Review footage at normal speed and frame by frame. Some timing problems are difficult to see on a live monitor.
Review Skin Tone, Color Shift, and Brightness Uniformity
Film people with varied skin tones, along with dark fabrics, reflective objects, and saturated colors. Review footage on a calibrated monitor.
Move the camera across the planned shooting area. Check seam brightness, module matching, off-axis color, and corner uniformity.
The test should also include low brightness. Many color and grayscale problems become clearer after screen output is reduced.
Confirm Spare Parts, Maintenance, and Support Availability
Confirm access to spare modules, receiving cards, power units, cables, and calibration files. Ask how replacement modules regain matching color.
Review replacement lead times, remote support, technical training, and repair procedures. Service delays can remove profitable dates from the rental calendar.
Stock planning should reflect project frequency and transport risk. A touring fleet usually needs more on-hand spares than a permanent studio.
Specify the XR LED Wall Around Your Production Workflow
Choose an XR LED Wall that performs well with your actual cameras, lenses, and shooting setup. Review pixel pitch, refresh rate, synchronization, grayscale, cabinet alignment, setup speed, and service access under real production conditions. Request a camera test and itemized proposal to compare image quality, transport needs, maintenance costs, and expected rental use before committing to a system.
FAQs
Q1: Can an XR LED Wall Replace a Green Screen?
Sometimes. An XR LED Wall provides in-camera backgrounds, reflections, and interactive lighting. Green screen still suits projects needing flexible background replacement or complex compositing. Production teams should review the shot list, stage space, editing plan, and available budget. Some projects use both methods across different scenes.
Q2: Does Virtual Production Always Require Camera Tracking?
No. Static plates, fixed-camera backgrounds, and basic video playback can work without tracking. Real-time parallax requires accurate camera position and lens data. Tracking must also stay aligned with the render system, wall geometry, and processing delay. Test the full setup during camera movement.
Q3: Does an XR LED Wall Need 4K Content?
No. Content resolution should match the wall’s active pixel canvas and the area visible to the camera. A 4K source cannot add detail beyond the physical LED pixels. Check processor mapping, image scaling, rendering capacity, and frame rate for the final screen layout.
Q4: How Often Should an XR LED Wall Be Recalibrated?
There is no fixed interval. Check calibration before critical shoots and after transport, rebuilding, module replacement, or processor changes. Permanent stages should also track color drift through scheduled measurements. Each check should cover white balance, grayscale, module uniformity, and camera matching.
Q5: Should Rental Teams Buy Dedicated XR Panels or Upgrade Existing Panels?
It depends on current panel performance. Upgrade existing inventory when it passes camera, synchronization, grayscale, and mechanical tests. Dedicated XR panels may suit teams handling frequent close shots, multi-camera work, or demanding studio projects. Compare upgrade costs, expected bookings, transport needs, downtime, and remaining fleet value.