

For virtual production LED wall pixel pitch camera distance planning, the safest starting point is to treat pitch as a camera-visibility decision, not a panel-spec decision. A common rule of thumb says the minimum comfortable shooting distance in meters is roughly equal to the pixel pitch in millimeters, so a 2.3 mm wall starts as a roughly 2.3 m planning case, not a guarantee. For close-proximity ICVFX, finer pitch is often favored, but the usable range still depends on framing and lensing. That is only a heuristic, so test it against the shots you actually plan to capture.
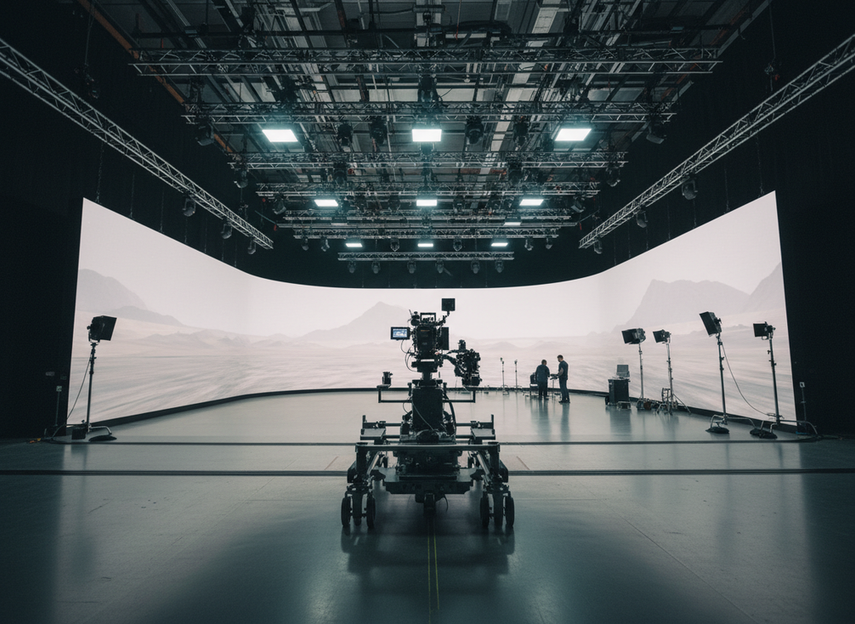
For most studios, the question is not “What pitch is best?” It is “What pitch stays out of the shot at our real camera distance, with our real lenses, and with the amount of wall that will actually be visible?” If the wall is often close to talent, the pitch choice usually needs to move finer. If the wall sits farther back or stays less prominent in frame, a more moderate pitch can be practical.
How Pixel Pitch Relates to Camera Distance
Near-Camera Versus Mid-Stage Pitch Choices
Close cameras are the hardest case because they make panel structure easier to catch in the image. That is why close-up ICVFX planning often leans toward finer pitch bands, while wider working distances can tolerate coarser options more comfortably. The practical difference is simple: if the wall fills more of the frame, the camera has more chances to resolve the pixel grid.
The core decision sentence is this: if your planned blocking puts talent close to the wall and your lenses are meant to see skin detail or sharp edges, choose the finer pitch path first; if your shots keep more separation and the wall stays less prominent, a moderate pitch may be enough, but only after test framing.
Lens, Framing, and Viewing Geometry
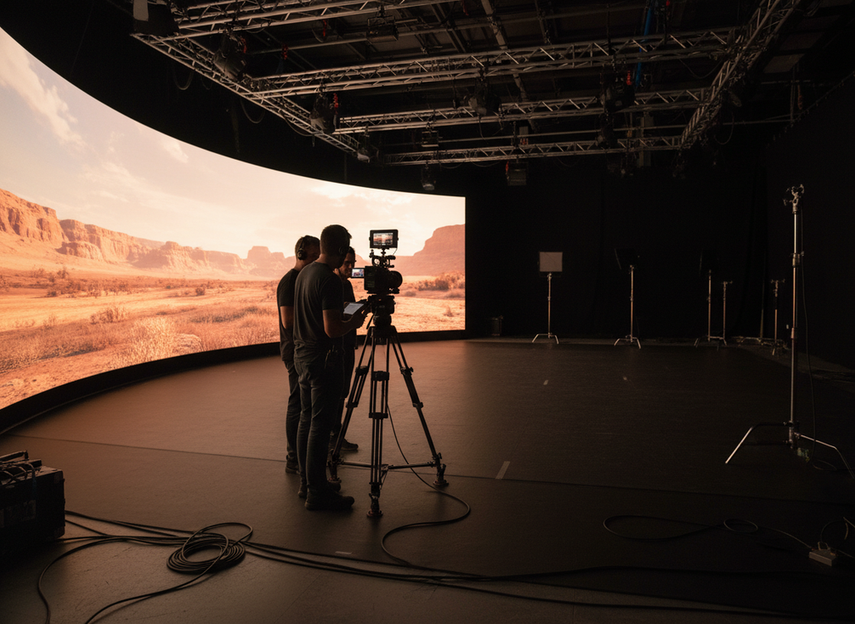
Lens focal length, camera height, and framing change what the sensor can resolve. A tighter lens can make pixel structure, banding, or edge artifacts easier to notice, while softer or wider framing can hide some of that risk. The result is not a universal formula; it is a viewing-geometry problem.
In practice, that means the same virtual production LED wall can look acceptable in a wide master and fail in a close dialogue setup. The buying or build decision should therefore be tied to the shot list, not just the wall size. A studio that plans frequent close-ups should validate the pitch against those shots first.
What to Ask Before You Lock the Spec
Before you approve a wall, ask four things: what is the closest camera distance, what lens range will be used most often, how much of the wall will sit in frame, and whether the test volume or sample panel passes those shots. That last check matters because spec-sheet fit is not the same as camera fit.
If the team cannot answer those questions clearly, the spec is too early to lock. This is where fine-pitch LED options can be a useful navigation path for studios comparing tighter-pitch indoor platforms, while broader indoor LED wall platforms are better viewed as category-level browsing rather than proof of fit.
Tracking Geometry and Wall Placement
Tracking geometry is a stage-layout problem, not a logo-based compatibility claim. In XR stage LED wall tracking setup planning, the wall has to work with sightlines, marker placement, operator paths, and the camera envelope at the same time. OptiTrack’s virtual production guidance makes the physical requirement explicit: tracking systems need clear sightlines and marker placement that does not cover the LEDs.
That changes the build decision in a real way. If sensors cannot see reliably, the wall edge, ceiling clearance, or nearby set pieces may need to move. A wall that fits the shot visually can still fail the stage if it blocks tracking views or forces awkward rigging.
Marker Placement and Sightlines
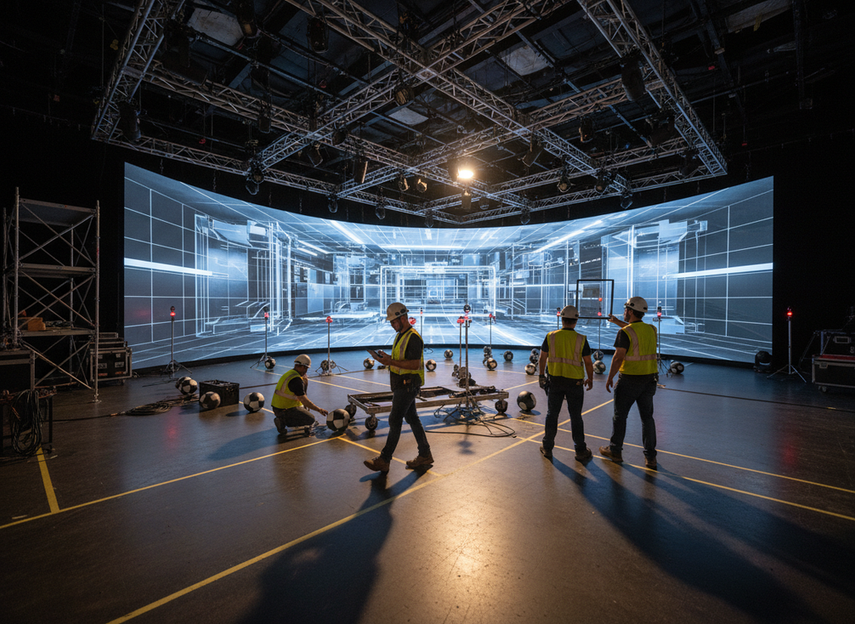
The first check is whether the tracking system can see what it needs without the wall itself getting in the way. Occlusion, reflections, and crowded truss lines can all create setup friction. Even when the LED spec looks right, blocked sightlines can force a redesign of the wall boundary or the calibration plan.
This is the point where teams often over-trust software compatibility. The better check is physical: can the system see the markers or reference points from the planned camera positions, and will the wall surface stay clear of anything the tracker needs to read?
Camera Movement, Rigging, and Clearances
Dollies, cranes, booms, and operator positions all need room near the volume. That means tracking geometry, wall depth, service access, and rigging lanes should be mapped together before fabrication. If the camera path is tighter than the tracking system or the wall build allows, the stage may be technically “compatible” but operationally awkward.
A short decision sentence helps here: when the shot plan includes moving cameras near the wall, reserve clearance first and pick the wall layout second; when movement is minimal, the tracking envelope can be simpler, but it still needs a pre-build check.
Tracking Checks Before Fabrication
The safest workflow is a joint walk-through with camera, tracking, and stage teams. Map camera positions, sensor views, wall edges, and any calibration reference points on the same plan. If the team needs extra clearance for sensors or reference lines, it is better to discover that before fabrication than after mounting hardware.
For studios comparing rental-format platforms, rental stage LED platforms can be a useful browsing path, while high-precision touring LED is best treated as a navigation anchor when the priority is stage fit rather than a claim about tracking compatibility.
Moiré Risk and Reduction Tactics
Moiré is the classic LED volume artifact that can ruin an otherwise good setup. Netflix describes it as a sampling conflict between the LED pixel structure and the camera sensor’s photosite pattern, which is why it is not just a “bad wall” issue but a camera-and-display interaction. The practical takeaway is important: moiré can often be reduced, but it should not be treated as fully eliminable.
The right framing is risk reduction. Pitch, camera distance, focus, framing, and lighting angle all influence how visible the pattern becomes. That means a wall can be a good fit for one shot and a poor fit for another, especially when the wall fills more of the frame or the subject sits very close to it.
Why Moiré Shows Up in LED Volumes
The artifact appears when two sampling grids interact: the wall’s pixel array and the camera sensor’s sampling pattern. Once you see it that way, the planning logic gets clearer. You are not just trying to buy a cleaner panel; you are trying to avoid a camera setup that makes the pattern easy to catch.
This is why the same wall can behave differently with different lenses, focus positions, and blocking. A tighter shot, a sharper focus on the wall plane, or a more revealing angle can all make the interference more noticeable.
Pre-Build Choices That Reduce Risk
RedShark’s virtual production guidance recommends practical mitigation steps such as using shallower depth of field or shifting focus slightly forward of the wall to help blur the background structure. Those steps can help, but they work as reduction tactics, not cures.
The most useful pre-build filters are simple: favor finer pitch when close work is planned, keep the wall farther from the camera when the shot allows it, and avoid letting the wall dominate the frame unless the pitch has been validated for that use. Lighting angle also matters because harsh or grazing conditions can make patterns easier to notice.
On-Set Checks That Help Catch Problems
Do not wait until a full shooting day to look for artifacts. Run representative test shots during blocking, lens changes, and camera moves, then check the image with content that resembles real wardrobe and contrast. Static charts are useful, but they are not enough if the production will use movement, skin tones, or shiny surfaces.
A practical decision sentence: if test shots reveal visible patterning in the intended framing, reduce the risk by changing distance, focus, or pitch before the shoot, because once the stage is committed the fix becomes slower and more expensive.
Genlock, Refresh Rate, and Calibration Checks
Genlock, refresh coordination, and calibration should be planned together, even if you do not publish a hard refresh benchmark. The calibration sequence itself matters: SMODE’s XR calibration guidance treats the process as a progression from sync and geometry toward color and workflow validation. That order is useful because a wall that is bright enough is not automatically a wall that will capture cleanly.
For planners, the key is to review the whole chain, camera, processor, wall, and sync workflow, before booking or building. If that chain is unstable, camera distance and pixel pitch decisions become harder to trust.
This section stays intentionally general because hard refresh-rate minimums depend on the exact processor, shutter behavior, and stage workflow. Without a public authority source, the safer move is to treat refresh and genlock as sign-off checks, not as universal thresholds.
Pre-Build Checklist for XR Volume Planning
Before you order panels or fabricate the stage, make sure the camera plan, tracking layout, and moiré test plan all agree. That is the point where a virtual production LED wall stops being a spec and becomes a shootable setup.
- Confirm the closest camera distance, the main lens range, and the most common shot scale.
- Validate the pixel pitch against those shots with a test volume or sample panel.
- Map tracking sightlines, marker placement, and camera clearance on the same stage plan.
- Run representative test shots for moiré before sign-off.
- Review genlock, refresh coordination, and calibration order with the full camera-to-wall chain.
If your team is still comparing indoor platform categories, commercial indoor LED platforms can be a starting point for broader browsing, but the final choice should still be made against camera distance and tracking geometry rather than catalog labels alone.
Wrap-Up
For XR planning, pixel pitch and camera distance are the first filter, not the last word. Finer pitch helps most when the camera sits close, the wall fills frame, or close-up detail matters; tracking geometry then decides whether the stage can physically support that plan. If you are still early in procurement, validate pitch with real framing, clear sightlines, and moiré tests before you lock the spec. If you want to compare indoor options, start with the use case first and the product second.
FAQs
How Do You Choose Pixel Pitch for a Virtual Production LED Wall?
Start with the planned camera distance, the main lens range, and how much of the wall will sit in frame. For close work, finer pitch is usually the safer direction, but the final choice should be validated with representative framing instead of assumed from a spec sheet.
What Does Tracking Geometry Change in an XR Stage Setup?
It changes where the wall can sit, how much clearance the camera needs, and whether the tracker can maintain clear sightlines. In other words, tracking is not just a software setup; it can move wall edges, rigging, and operator paths before the stage is even built.
Can LED Wall Pitch Reduce Moiré on Its Own?
It can help reduce the risk, but it cannot solve the problem by itself. Moiré also depends on focus, depth of field, lens choice, framing, lighting angle, and camera position, so pitch should be treated as one part of a wider mitigation plan.
Why Do Genlock and Refresh Rate Need to Be Planned Early?
Because sync stability affects how the wall and camera behave together during capture. If those checks are left too late, you may discover workflow conflicts after the stage is already committed, which makes changes slower and more expensive.
What Should We Test Before We Finalize an XR LED Volume Spec?
Use the lenses, distances, and shot types that the production will actually use, then look for moiré, tracking occlusion, and framing issues. The safest test is the one that looks like the real job, not a generic demo shot.