

Virtual production LED flicker is usually a timing problem, not a sign that the wall is visibly broken. The cleanest fix path is to diagnose the source first, then tune refresh rate, shutter angle, and processor settings one at a time so you can protect brightness where possible. Moiré needs its own check, because the best fix is often geometric or optical rather than just dimming the wall.
Why Flicker Shows Up on LED Volumes
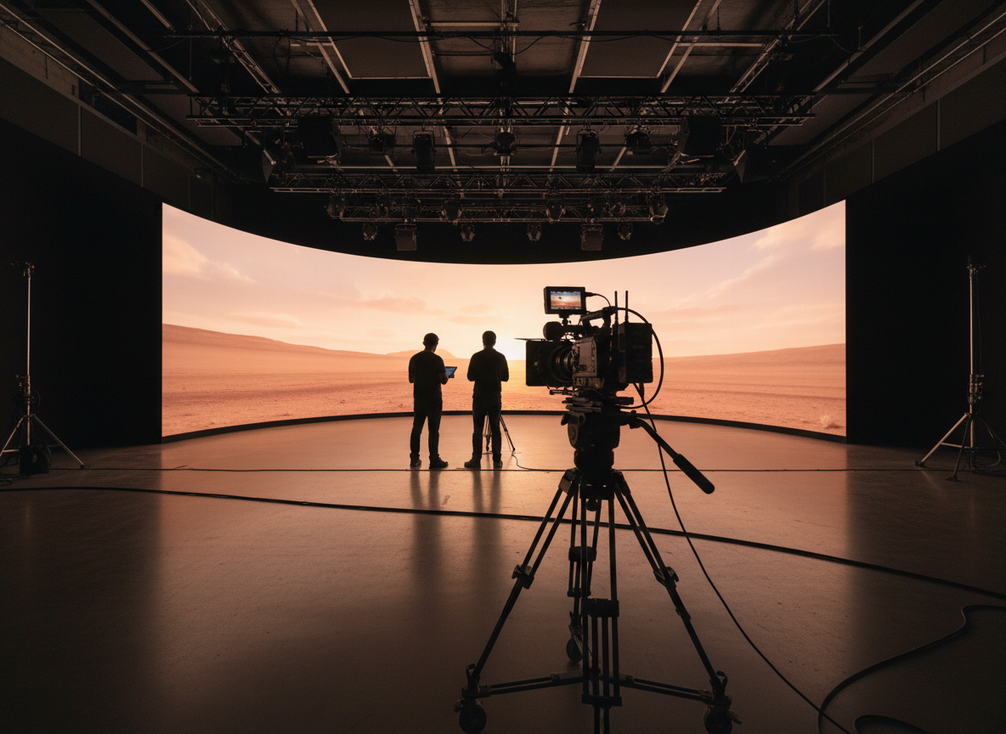
On camera, flicker usually comes from a mismatch between the camera’s shutter timing and the LED wall’s refresh or scan behavior. That is why the wall can look fine to the eye and still fail in the frame, as shown in Macroblock’s technical explainer. That also explains why virtual production LED flicker is so frustrating on set: the monitor may show bands or shimmer that are invisible from a normal viewing position.
It helps to separate the artifacts before you touch settings. Flicker is the brightness rhythm or shimmer you see in the captured image. Banding is the visible striping that often moves or changes with exposure timing. Moiré is the interference pattern that appears when fine pixels, textures, or lens detail interact. In practice, they can overlap, but they do not always share the same fix.
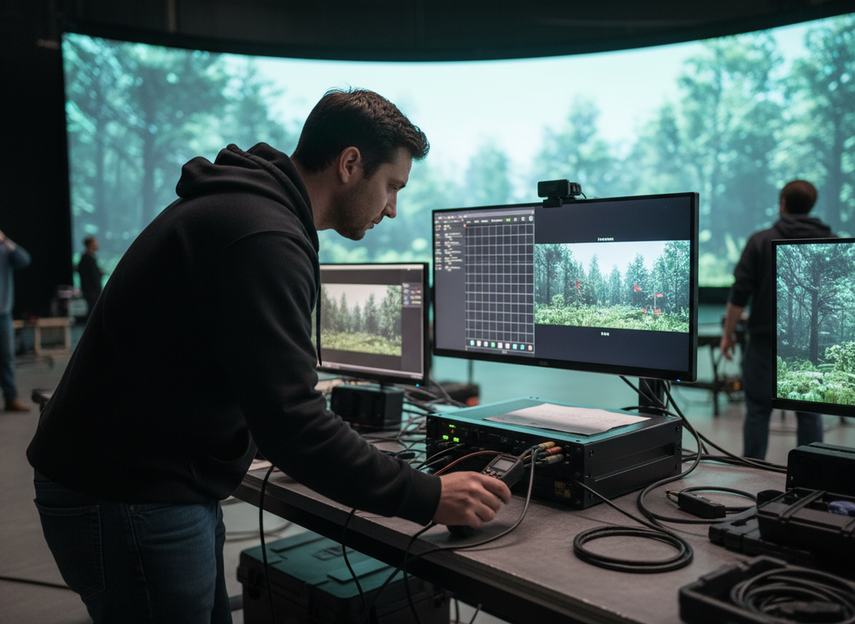
A useful rule is to treat the wall as a capture system, not just a light source. If the camera, frame rate, shutter angle, panel scan, and processor timing are not lined up, the image can look stable to the crew and still break on the sensor. There is rarely a single universal setting that fixes every camera and wall combination.
Check the Cause Before Changing Settings
Before you change wall settings, find out whether the issue moves with the camera, the processor, or the workflow. That saves time and keeps you from solving the wrong problem. A quick through-the-lens check is the best starting point, because on-camera artifacts can be different from what you see by eye, as Netflix Partner Help notes in its virtual production guidance.
Use a controlled test shot and change only one variable at a time. If the flicker changes when you alter frame rate, shutter angle, or exposure time, the camera path deserves priority. If the issue changes when you switch processor modes, scan behavior, or phase-related settings, the wall or processor is more likely involved.
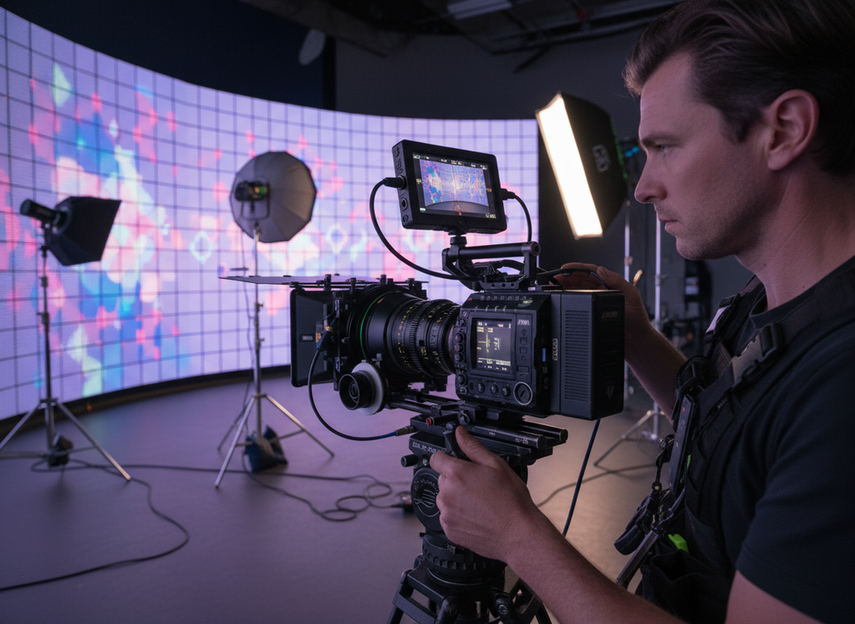
Here is the shortest diagnosis flow that usually helps:
- Camera-side check: keep the wall static and test whether the artifact changes with frame rate or shutter angle.
- Wall/processor check: see whether a processor timing feature or scan-mode change improves the frame.
- Workflow check: compare more than one camera body or lens if the stage allows it, because one camera may react differently from another.
That last step matters. LOLED Virtual’s camera compatibility guidance shows why genlock and phasing are workflow variables, not just spec-sheet talking points. Some cameras can stay clean when the sync chain is right, while others need manual phasing if genlock is unavailable.
| Troubleshooting branch | First thing to check | What it tells you |
|---|---|---|
| Sync / phase checks | Does the artifact change with sync, genlock, or phase-related adjustments? | The problem is likely timing alignment, not a visibly faulty wall. |
| Processor timing tools | Do ShutterSync or Phase Offset style controls improve the frame? | The processor may need to help bridge camera and wall timing. |
| Lens and camera setup | Do distance, framing, focal length, or focus changes affect the pattern? | Moiré or optical interaction may be the bigger issue. |
| Cross-check verification | Do multiple cameras or playback states behave the same way? | The issue may be setup-specific instead of universal. |
Tune Refresh Rate and Shutter Angle
Once you know the problem is timing-related, tune the camera and wall together rather than chasing the brightest possible image. That is the heart of LED volume camera flicker troubleshooting: find the cleanest usable timing match first, then see how much brightness you can keep. ARRI’s virtual production color-management guidance is a good reminder that camera-side calibration should be treated as part of the whole system, not as a separate afterthought.
Start from a repeatable baseline. Hold frame rate, shutter angle, ISO or exposure, framing, and camera position steady while you test. If you change several things at once, you may hide the real fix. A clean baseline also gives you something you can recreate later on the next shoot day.
The most practical workflow is one-variable-at-a-time:
- Lock the camera baseline.
- Change the shutter angle or exposure timing in small steps.
- Watch the capture, not just the wall.
- If the image improves, document the setting before making the next move.
Processor timing features can help here. Brompton’s documentation describes tools such as ShutterSync and Phase Offset that are designed to align refresh timing with camera shutter timing. That does not mean every wall needs the same processor setting, but it does mean the processor can be part of the fix instead of a passive box in the chain.
Avoid brightness-first shortcuts unless the shot can tolerate them. Lowering brightness can hide artifacts, but it can also make the image too dim for client review or creative intent. In many setups, the better tradeoff is a slightly less aggressive timing compromise that still keeps the shot usable.
Reduce Moiré Without Blurring the Image
Moiré is not the same problem as flicker, so do not treat them as interchangeable. Amazon Studios’ production guidance points to practical fixes that preserve detail, especially changes in distance, lens focal length, and focus placement. Those are often the first moves worth trying before you soften the image.
Use this order when the wall looks sharp to the eye but breaks in the frame:
- Move the camera slightly farther from the wall if the shot allows it.
- Try a different focal length if the composition still works.
- Shift focus placement so the LED surface is not creating the strongest interference pattern.
- Simplify fine textures or high-frequency content that is creating the pattern.
The key judgment is whether the change improves the frame without stealing detail. If you go straight to blur or heavy image softening, you may make the artifact less visible while losing the texture that makes the shot feel finished. For VP teams, that is usually a bad trade unless the creative brief gives you no other option.
This is also where virtual production LED wall flicker fix work and moiré work can get confused. If the artifact changes with shutter or sync, start with timing. If it changes with distance, lensing, or focus, treat it as a geometry and optics problem first.
Run a Clean Verification Pass Before the Shoot
Before signoff, run one final verification pass that matches real shoot conditions. The goal is not to prove the setup is perfect in theory. It is to prove the working preset stays clean enough when the stage is doing real work.
Use the same preset and then check four things:
- A baseline shot through the intended camera.
- A second camera or alternate body, if the stage will use one.
- A moving shot, because motion can make artifacts easier to see.
- A brightness change pass, so you know the clean setting still holds when the wall is adjusted.
If the team finds a working combination, document it clearly. Record camera model, frame rate, shutter angle, lens choice, processor mode, and any sync or phase setting that mattered. That makes it much easier to recreate the result on the next shoot instead of starting from scratch.
For a final visual check, use the table above as the decision order: sync and phase first, processor timing second, lens and camera setup third, and multi-camera verification last. That sequence usually exposes the real bottleneck faster than random tweaking.
Final Decision and Next Step
If your virtual production LED flicker changes with shutter, frame rate, or sync, treat it as a timing problem first. If moiré changes with distance, lens, or focus, treat it as an optical problem first. The best result is usually a clean compromise, not a brute-force dimming move.
If you are qualifying a stage or planning a new build, we can help you check compatibility and narrow the right LED volume options before the shoot. Browse stage-ready rental LED displays or contact us for setup planning when you need a faster path to a clean on-camera result.
FAQs
Why Does My LED Wall Flicker on Camera?
It usually means the camera shutter and the wall’s refresh or scan cycle are out of sync, even if the wall looks stable in person. Start by checking whether the artifact changes with frame rate, shutter angle, or processor timing. If it does, you are probably dealing with a capture-timing problem rather than a visibly defective panel.
How Do I Fix Flicker in Virtual Production Without Losing Brightness?
The best fix is usually a timing compromise, not a brightness cut. Lock a baseline camera setup, adjust shutter timing or processor alignment, and only then decide whether brightness needs to come down. If the wall gets too dim for client review, the setting is not a good final answer even if it looks cleaner.
What Is the Difference Between Flicker and Moiré on an LED Volume?
Flicker is a brightness or shimmer issue tied to timing. Moiré is a pattern issue caused by fine detail interacting with pixel structure, lensing, or camera distance. If the artifact reacts to shutter or sync, start with timing. If it reacts to distance, focal length, or focus, start with optics and framing.
Can One Camera Setting Fix Every LED Wall?
No. One successful test does not guarantee the same result across every camera body, lens, panel, and content pattern. Use a controlled test pass whenever the camera changes, and document the exact preset that worked. That is the safest way to avoid surprises on a paid shoot.
What Should We Test Before a Client Shoot?
Test a baseline shot, a movement shot, and a brightness-change pass, then repeat the check on any other camera body you plan to use. If the image stays clean across those states, you are in a much safer place than if it only looked good in one locked-off test. Save the working settings so the team can recreate them quickly.