

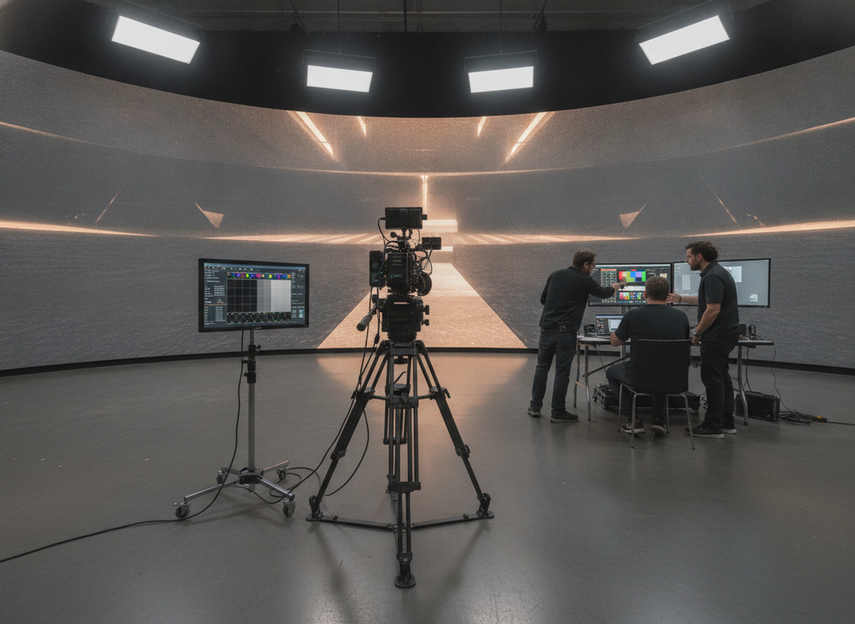
A virtual production LED wall is only camera-safe if it behaves under your real shooting setup, not just on a spec sheet. Before you buy, test refresh behavior, genlock, moiré, motion response, and latency together under the camera, lens, distance, and shutter settings you plan to use. Netflix’s on-set infrastructure benchmark is a useful reminder that LED panels, processors, and receiver cards should be fully functional, tested, calibrated, and validated as a chain, not as isolated parts.
What Buyers Must Verify First
For most buyers, the first question is not "What refresh rate does it claim?" It is "Will this wall stay stable in the exact camera workflow we plan to use?" That shift matters because a wall can look fine to the eye and still fail on camera with banding, tearing, moiré, or playback lag.
Treat camera-safe as a workflow result. The wall, processor, sync chain, camera settings, and shooting distance all affect the outcome. Netflix’s on-set guidance says LED panels, image processors, and receiver cards should be fully functional, tested, and cabinet-calibrated before use, with roundtrip testing used to catch problems early. In other words, the goal is not a prettier demo. The goal is fewer surprises after capital is already committed.
The main failure modes this protocol is meant to catch are easy to name: visible flicker, unstable sync, moiré in the recorded image, motion artifacts during pans or actor movement, and latency that makes live interaction feel off. If the wall only behaves in one best-case setup, it is not ready for procurement.
Translate Specs Into Test Criteria
The useful move is to turn each spec into an observable camera test. Refresh rate, genlock, pixel structure, and latency are not just paperwork checks. They are clues about what to look for when the camera is pointed at the wall.
Refresh Rate as a Camera Test Variable
Refresh rate matters because it affects whether the camera sees rolling bands, flicker, or unstable exposure patterns. In plain terms, it is the wall’s update speed, and if it is too slow for the planned camera settings, the image may look stable to the human eye but not to the sensor. Netflix notes that refresh behavior can be related to shutter timing and that the wall should be checked as part of the full imaging chain, not in isolation.
For buyers, the decision rule is simple: test the wall using the intended frame rate, shutter style, and motion level. If the wall only looks clean after you change the camera away from your real shooting settings, that is a warning sign, not a win.
Genlock and Sync Stability
Genlock is worth verifying because it keeps the wall refresh and the camera in step. That reduces the odds of torn images, moving scan lines, or other sync-related artifacts. It is not enough for a vendor to say the system "supports genlock"; you want to see the sync chain hold during real shooting, not just during a quick startup check.
A practical check is to watch the wall through repeated starts, stops, and scene changes. If the image stays locked and the footage remains clean, that is a good sign. If sync drift, banding, or tearing shows up during motion or after a format change, the setup needs more work before you can trust it.
Moiré and Pixel Visibility
Moiré is a camera artifact, not a visual preference issue. It often appears when the LED pixel structure conflicts with the camera sensor pattern, and the risk changes with distance, focus, lens choice, framing, and angle. Netflix’s virtual production troubleshooting guidance also treats moiré as one of the common issues that should be checked through the pipeline, not guessed from a spec line.
For buyers, the key test is simple: inspect both close framing and wider shots. A wall that looks clean from across the room can still show shimmering patterns once the camera pushes in or the talent moves. If the result changes a lot when you adjust focal length or distance, the wall may still be usable, but only inside a narrower shooting window than the sales pitch implied.
Latency and Motion Response
Latency matters when the display needs to feel responsive to camera movement, live playback, or interactive cues. The important point is not a universal millisecond number. The important point is whether the delay breaks the shot. A slight lag can be invisible in a static demo and obvious during pans, tilts, or fast subject movement.
The EBU’s multi-camera workflow validation reinforces that virtual production has to be checked as a multi-camera and sync-aware workflow, not just a single-frame preview. If your stage will cover broadcast, live events, or multiple camera angles, you need to know the wall still feels consistent when more than one camera is involved.
Run the On-Site Camera Test
A good demo starts with the setup, not the wall image. Use the same camera family, lens range, framing style, and shooting distance you expect in production whenever possible. If the vendor only shows you a favorable setup, record that as a limited result, not a full pass.
-
Set The Baseline
Build the stage as it will actually be used, then confirm the wall, processor, and camera chain are all in the intended mode. Netflix recommends a baseline round-trip check before moving into content-specific testing, because problems are easier to isolate before the creative layer is added.
-
Lock The Camera Settings You Plan To Use
Set the target frame rate, shutter behavior, white balance, and focus workflow first. If a wall looks clean only after you change these settings away from the planned shoot, the result is conditional, not production-ready.
-
Check Sync Before Judging Image Quality
Watch for tearing, scan-line drift, or other signs that the wall and camera are not staying in step. Fix sync problems before you spend time judging moiré, because sync instability can mask the real issue.
-
Run Motion Tests
Do slow pans, quick pans, actor movement, and any live-action cueing that your actual shoot will require. What looks good in a locked-off frame may fall apart once the camera or subject moves.
-
Inspect Moiré In More Than One Framing
Test both tight shots and wider compositions. A wall that is fine in one framing may produce visible patterning in another, especially when lens choice or distance changes.
-
Repeat The Test With The Second Camera If The Project Needs It
Broadcast-adjacent buyers should repeat the test with the second angle or second camera if that is part of the real workflow. EBU guidance on multi-camera virtual production makes it clear that perspective and sync need to stay coherent across cameras, not just on the first one.
-
Record The Conditions And Outcome
Write down the camera model, lens, distance, focal length, shutter setting, frame rate, and any settings changes made during the test. That record helps you compare vendors fairly and prevents a polished demo from being mistaken for repeatable readiness.
If you want a broader rental-stage starting point after the test, a rental-stage LED option can be useful for browsing, but the shortlist still has to pass your own camera workflow first.
Judge Pass or Fail by Production Fit
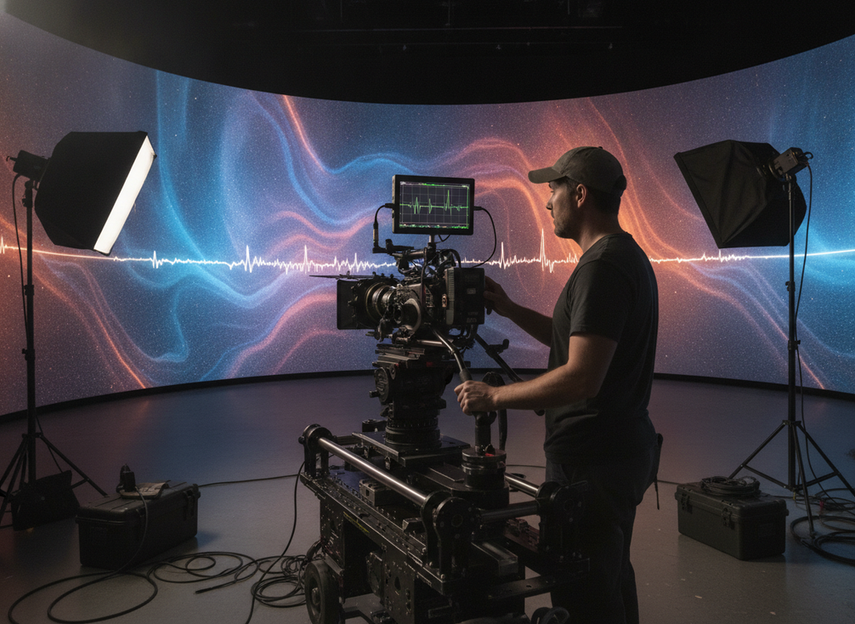
Use the table below to read test results as a production-fit decision, not a perfection contest. A wall passes when the full chain behaves cleanly in the setup you plan to ship. It needs follow-up when the issue looks isolated and fixable. It is a walk-away when the image stays unstable, artifacts remain visible, or the wall only works in a narrow demo condition.
| Test Area | Good Result | Warning Sign | Buyer Action |
|---|---|---|---|
| Refresh behavior | Footage stays stable in the planned frame rate and shutter setup | Bands, flicker, or exposure shifts appear during motion | Retest in the real camera mode, then pause purchase if the issue remains |
| Genlock / sync | Wall and camera stay locked through starts, stops, and scene changes | Tearing, scan lines, or sync drift show up | Ask for a sync-chain retest and written explanation of the fix |
| Moiré | No distracting patterning in the intended framing range | Patterns appear when you change distance, lens, or framing | Narrow the use case, change the setup, or walk away if the effect persists |
| Motion response | Pans and moving subjects stay visually consistent | Lag or smearing makes the shot feel disconnected | Re-test with the real move list and compare against another wall |
| Multi-camera fit | Different cameras hold perspective and sync without a new artifact | One camera passes while another shows a problem | Do not approve the wall for a multi-cam stage until both views hold up |
For the technical team, the takeaway is simple: one clean shot is not enough. The wall should stay acceptable across the intended camera range, not just in a best-case demo. If you need a written acceptance record, the test report is the kind of document path that can help support procurement review, but it does not replace your own camera validation.
Buy With Confidence
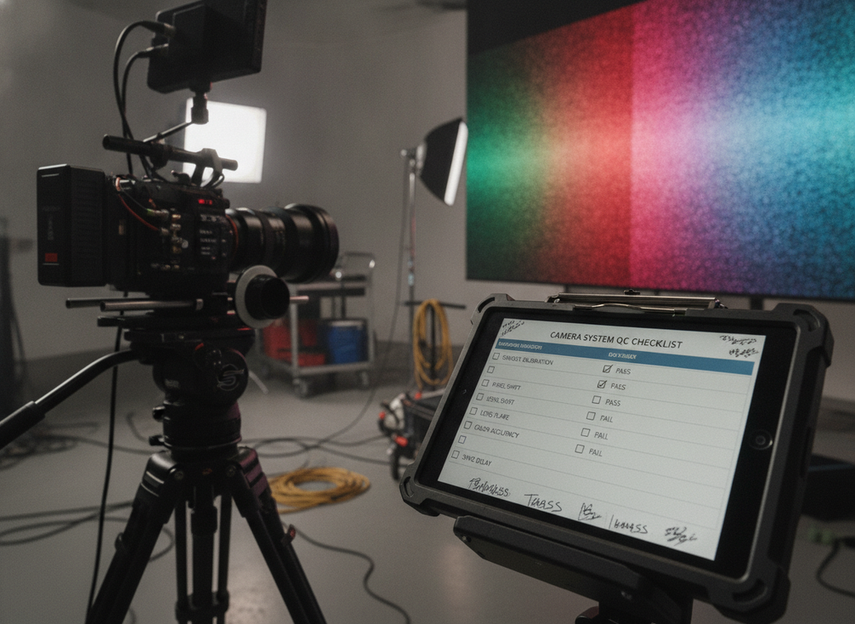
Before you sign, ask for the exact test conditions used in the demo, a written summary of any issues found, and clear responsibility for installation, calibration, and retest support. If the vendor cannot show repeatable results in your planned workflow, that is a procurement risk, not a minor detail. If the wall passes your real camera setup, document the settings and keep that record for the next stage review. For teams planning broader live-event or studio use, a broadcast-grade LED option is worth checking only after the camera-safe test itself holds up.
FAQs
What Refresh Rate Should a Virtual Production LED Wall Have?
There is no single universal number that fits every shoot. The safer buyer question is whether the wall stays stable at your planned frame rate, shutter behavior, and motion level. A headline refresh spec can be useful, but it is only meaningful when it matches the camera setup you will actually use.
Do You Need Genlock for an XR Stage?
If the stage has to stay locked to camera timing, genlock is worth treating as part of the acceptance test. In practice, the question is not whether the feature exists, but whether the full chain stays stable during scene changes, camera starts and stops, and multi-camera operation.
What Causes Moiré When Filming an LED Wall?
Moiré usually comes from a mismatch between the LED pixel pattern and the camera sensor pattern. Distance, focus, lens choice, and framing all change how visible it becomes. That is why you should test both close and wider shots before deciding the wall is safe for your show.
How Can You Tell If an LED Wall Is Camera-Safe Before Buying?
Look for repeatable results, not a single good demo. A camera-safe wall should stay clean through the actual frame rate, shutter, lens, distance, and movement you plan to use. Written test conditions matter because they let you compare vendors on the same basis.
Can One Camera Test Prove a Wall Will Work for Every Shoot?
No. A wall can pass with one camera and still fail with another lens, another angle, or a different moving shot. If your production uses multiple cameras or changing setups, test the full range before you approve the purchase.