

Virtual production LED wall specifications for XR stages are easiest to get right when you work backward from the camera package, lensing, stage geometry, and sync workflow. The right wall is not just the one with the finest pitch or the highest number on a datasheet; it is the one that stays clean on camera, supports the intended shot range, and calibrates reliably across the full pipeline.
If you are comparing virtual production LED specs for an XR stage, start with the camera, not the showroom view.
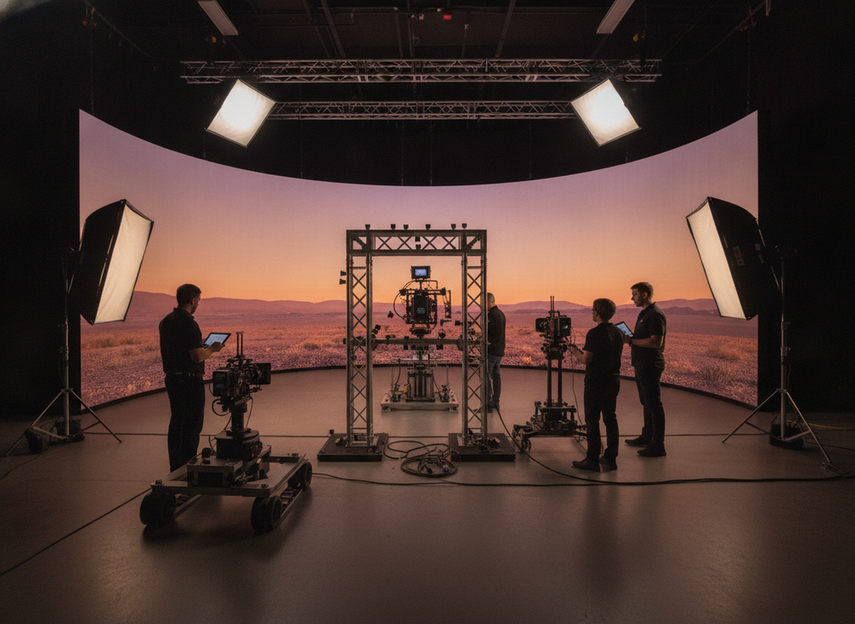
Why XR Stage LED Walls Need Different Specs
For XR stages, the buying question is not "Does the wall look good to the eye?" It is "Does the camera see a clean, stable image?" AVIXA’s guidance on immersive production frames LED volumes as a camera-facing system, where pixel pitch, scan structure, and color consistency matter because the sensor is the real viewer, not just the person standing on set. That difference changes the whole spec review.
A wall built for broadcast inserts, presenter shots, or hybrid events may need a different balance than one used for close-up drama, motion-heavy scenes, or wide virtual scenery. In practical terms, you should decide early whether the wall is mainly background, interactive light source, or both. That choice changes how much weight you give to pitch, sync, calibration, and distance.
The safest early filter is simple: if the wall will be filmed, do not evaluate it like a standard indoor display. Evaluate it like part of the camera chain. If the camera package, lensing, and blocking plan are not known yet, the wall spec should stay flexible until those variables are set.
For a camera-facing overview of LED volumes, see AVIXA’s immersive production guidance.
Core Specifications That Affect Camera Compatibility
The core virtual production LED specs are not the same as the checklist for a lobby screen or meeting room wall. For XR stages, buyers usually need to weigh refresh behavior, scan structure, pixel pitch, color consistency, viewing behavior, and calibration workflow together. The goal is predictable camera output across lenses, shutter settings, and motion scenes.
Refresh Rate and Scan Behavior
Refresh rate matters because it affects camera-visible flicker, banding, and motion artifacts. Netflix’s on-set infrastructure guidance sets 1920Hz minimum benchmark for virtual production on-set infrastructure, which is a useful floor when you are comparing walls. That said, the benchmark is not a guarantee. A wall can clear the refresh floor and still show artifacts if genlock, shutter timing, or scan behavior is off.
For most buyers, the useful question is not "What is the biggest refresh number available?" It is "Does the wall stay stable at the frame rates, exposure, and motion patterns we actually plan to shoot?" If a vendor only talks about headline refresh and not sync behavior, that is a warning sign.
Pixel Pitch and Moiré Risk
Pixel pitch is the spec most people compare first, but it is only one part of moiré risk. Netflix’s guidance and other virtual production references make the same point: moiré depends on the interaction between pitch, camera distance, lens focal length, angle, focus, and sensor structure. A finer pitch can reduce risk, but it does not eliminate it on its own.
For planning, use this rule: the closer the camera work and the tighter the framing, the more pitch matters. But if your shot design changes often, you still need camera tests. A wall that looks fine from a normal viewing distance can still show patterning once the real lens package, shutter, and distance are in play.
Color Fidelity and Calibration
Color fidelity in XR stages should be treated as a calibration and consistency issue first, not a marketing claim. The wall has to hold steady across panels, support the camera’s capture, and stay usable when the image is tuned for the stage rather than for the eye. Netflix’s virtual production guidance points toward camera-based calibration workflows such as OpenVPCal, which is a good reminder that on-set judgment should come from captured footage, not from what the wall looks like in the room.
That means the right question is not "Is this wall creatively beautiful?" It is "Can we tune it repeatably for the production pipeline?" If the answer depends on a one-off manual tweak, the wall may become expensive to live with.
Viewing Angle and Uniformity
Viewing angle and uniformity matter when cameras move off-axis or when wide shots include more of the active surface. Brightness shifts, color shifts, and panel-to-panel variation can become visible once the camera changes position. That is why camera-facing walls should be checked across the full intended shooting area, not just the center of the screen.
If you are comparing two similar walls, the one with cleaner uniformity and better calibration control can be the safer buy even if its raw brightness is lower. In XR, consistency often beats a single strong spec.
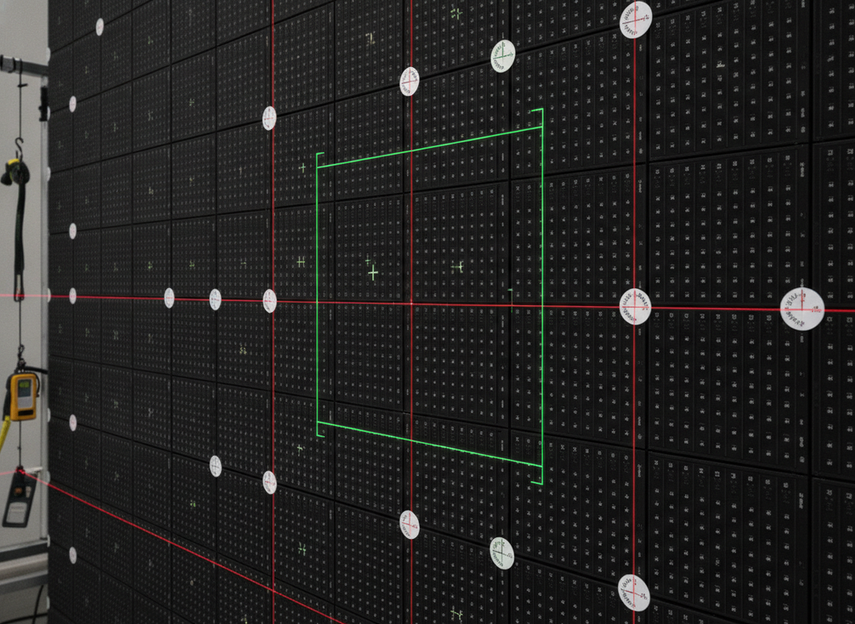
How to Reduce Moiré and Scan Artifacts
Moiré reduction is a workflow, not a single-spec fix. The most useful guidance is to test the whole camera chain, because the wall can behave differently once lensing, angle, and distance are in the real setup. A practical sequence looks like this:
- Test with the actual camera bodies and lens set.
- Use the real minimum shooting distance, not an idealized one.
- Sweep the focal lengths and angles the director of photography is likely to use.
- Check whether the problem is temporal, spatial, or both.
- Adjust camera position, framing, angle, and shutter before changing the wall.
That workflow matches the community guidance often shared by production teams, where pixel pitch and camera setup are treated as a pair, not separate problems. The practical lesson is conservative: fine pitch helps, but camera distance, lens choice, and angle can still create artifacts if the full setup is not validated.
For teams evaluating rental or documentation-driven procurement, a test report can be a helpful navigation point, but it should never replace a real camera test on your own stage.
If a wall still shows moiré after the first pass, do not jump straight to a higher-cost cabinet change. Recheck the shot geometry, then look at the scan behavior, shutter angle, focus plane, and distance. That is usually the fastest path to a usable result.
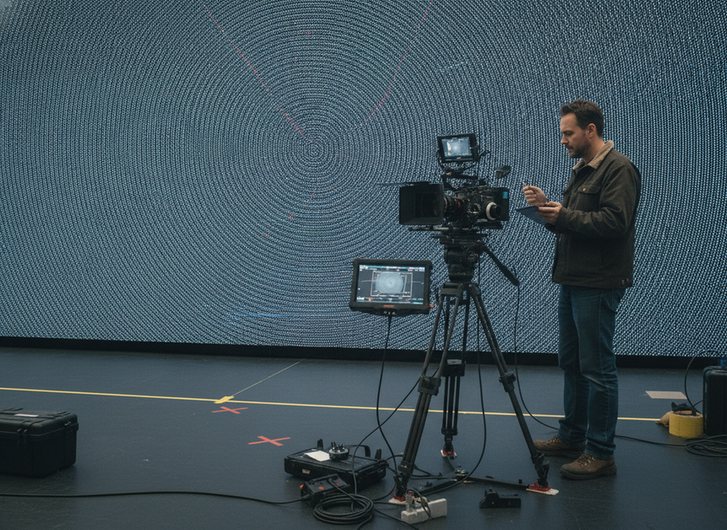
Balancing Color, Brightness, and Studio Workflow
XR buyers often face a tradeoff between image quality and workflow convenience. A wall can look excellent on camera and still be awkward to live with if calibration is slow, heat management is weak, or the stage takes too long to reset between shoots. The reverse is also true: a very convenient wall can miss the mark if its camera behavior is not stable.
| Evaluation factor | Why it matters on set | What to verify | Common risk if ignored |
|---|---|---|---|
| Pixel pitch | Drives how visible the panel structure is to the camera | Test with the real lens package and minimum shooting distance | Moiré or visible texture in close shots |
| Refresh and scan behavior | Affects flicker and motion stability | Match the wall to the real shutter and frame-rate plan | Banding, exposure issues, or motion artifacts |
| Brightness management | Helps balance the stage without overpowering the set | Check how the wall behaves at the brightness levels you will actually use | A wall that is too dim or too intrusive |
| Calibration workflow | Determines repeatability from day to day | Verify camera-based or repeatable calibration support | Color drift and inconsistent shots |
| Uniformity and serviceability | Affects reliability over repeated production days | Check access, spare parts, and maintenance approach | Slow fixes and downtime during production |
The most useful way to compare walls is to ask which constraint will hurt the production most if it fails. If the stage depends on skin-tone accuracy, camera stability, and repeatable lighting cues, calibration and uniformity deserve more weight than raw brightness. If the stage is mostly fast turnover and mixed-use rentals, setup speed and service access may matter more.
If you are looking for broader category navigation while you compare options, our rental LED option is one path to review, but it still needs to be checked against your actual camera requirements before purchase or booking.
What to Verify Before You Buy
The final approval step should happen with the actual camera package, not a generic demo rig. Aximmetry’s virtual production workflow guidance emphasizes camera test and calibration checklist logic for a reason: the wall has to work with the real cameras, lenses, shutter settings, and timing chain you will shoot with.
Camera Test Checklist
Test motion, static frames, skin tones, gradients, and dark scenes. That combination exposes most of the issues that matter on an XR stage. If the wall only looks clean in bright, easy content, you do not yet know whether it will hold up in a real production day.
Check for flicker, banding, moiré, visible seams, and color drift. If any of those appear, retest with the exact lens and shutter settings the camera department plans to use. Do not sign off on the wall until the same setup looks stable in the shot types you actually intend to deliver.
Documentation and Support
Ask for clear documentation on calibration, service access, and processor setup. Good documentation shortens vendor comparisons and makes it easier to compare systems on a like-for-like basis. It also reduces the odds that a good wall becomes difficult to maintain after installation.
If the vendor cannot explain how tuning is done, who handles recurring calibration, or what support is available when the wall drifts, treat that as a procurement risk rather than a minor detail.
Installation and Service Readiness
Even a strong spec sheet can fail if the wall is hard to service or cannot be kept aligned. Check spare strategy, access points, and how quickly faults can be isolated between shoot days. For repeated production work, workflow readiness matters as much as image quality.
If the wall is destined for a mission-critical build, a mission-critical wall is worth reviewing as a category path, but only if its support model and service plan match the stage’s real uptime needs.
Final Procurement Decision
Approve the wall only after it passes camera testing under the planned production conditions. If it clears the real camera package, the intended shot range, and the calibration workflow, it is a candidate. If it only looks good in the showroom, it is not ready.
Final Takeaway
For XR stages, the best virtual production LED wall specifications are the ones that match the show’s real camera language. Start with the shot design, choose pitch for the intended distances, give yourself refresh headroom, and verify moiré and color with the actual production chain. If the wall stays stable at the planned shutter, lens, and blocking choices, it is the right wall for the job. When you compare options, use the camera test as the final gate, not the brochure. In practice, the best virtual production LED specs are the ones that still hold up when the camera moves, the lens changes, and the stage has to work under real conditions.