

Testing an LED volume before a shoot is the safest way to reduce avoidable camera issues, and a virtual production LED wall test gives you a repeatable way to check for flicker, moiré, scan lines, and exposure instability before talent and crew arrive. The goal is not to prove a stage is universally safe; it is to verify whether a specific camera, lens, refresh setup, and scene package behave acceptably under your chosen conditions.
What a Camera-Safe Test Must Prove
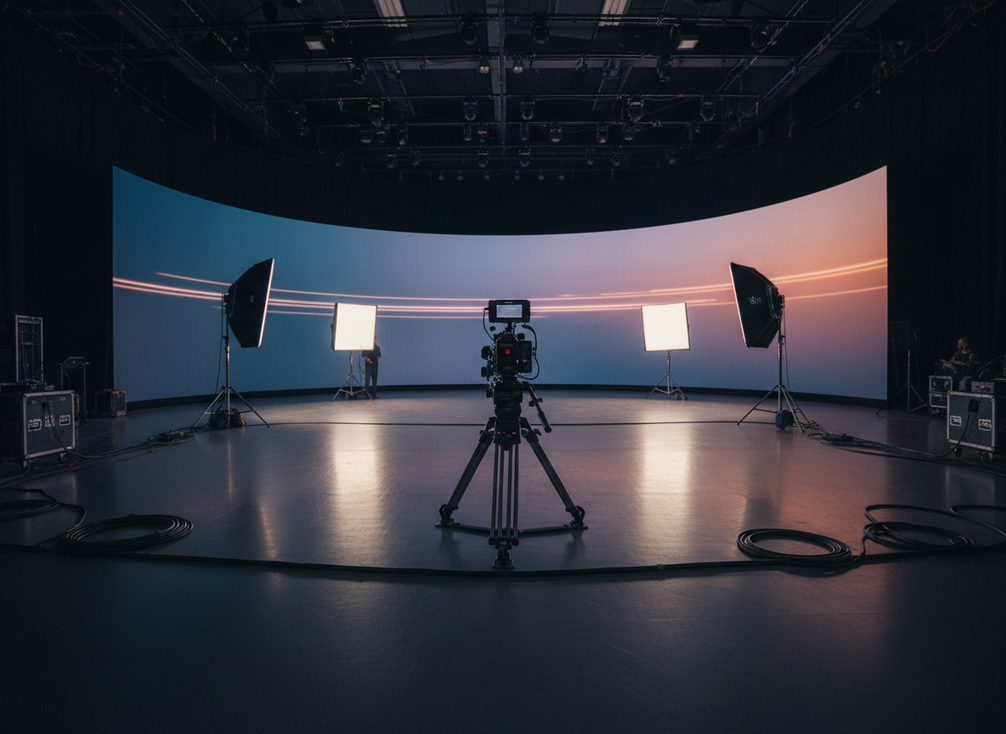
A useful test must show whether the virtual production LED wall and camera can work together without creating obvious image artifacts at the settings you plan to use. In practice, that means checking for flicker, banding, temporal aliasing, moiré, and inconsistent color or brightness shifts across the frame.
The test should also confirm whether the chosen camera settings are stable enough for the intended shot list. That includes shutter angle or shutter speed, frame rate, ISO, white balance, ND filtration, and lens choice. A setup may look acceptable with one lens and fail with another, so treat lensing as part of the system rather than a separate variable.
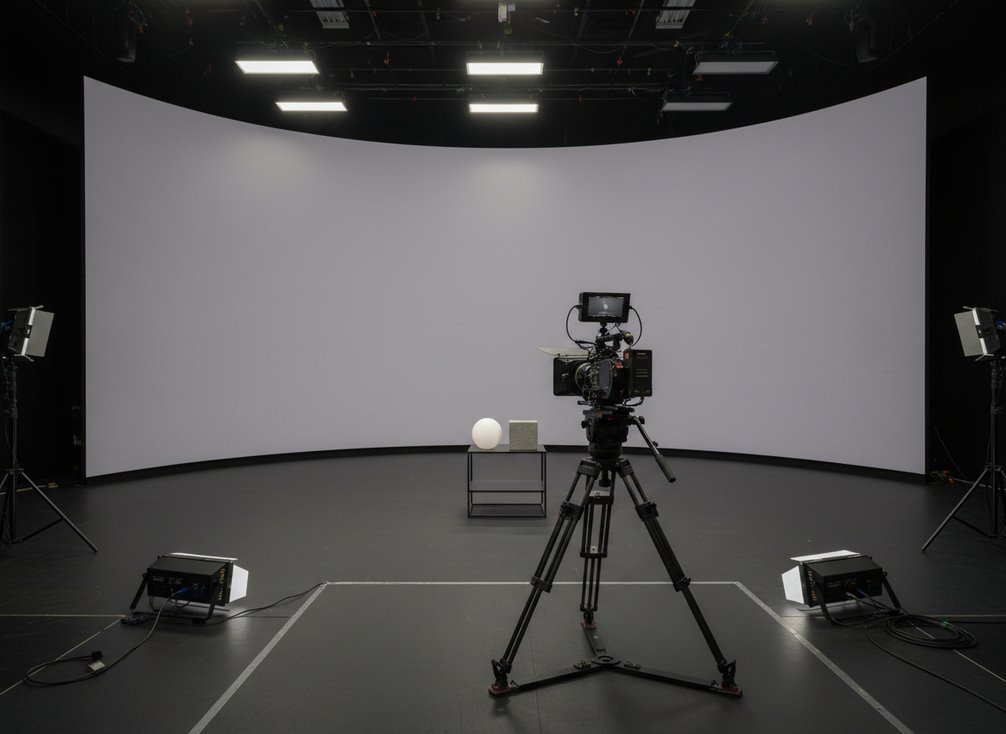
A camera-safe result is usually conditional, not absolute. The question is not “is the wall safe?” but “is this wall safe for this camera package, at these settings, in this environment?” That distinction matters because LED behavior can change with refresh rate, camera scan behavior, exposure, and the test pattern used. The sensor-grid and pixel-grid overlap can make moiré appear only at certain distances or angles, which is why the test has to include real framing and lens positions, not just a stationary check.
Structured LED-wall testing workflows are now a normal part of multi-camera virtual production planning, and that is the right mindset here: test the actual package, record the actual result, and make the booking decision from evidence instead of assumptions.
Set the Test Conditions First
Begin by freezing the variables you intend to keep on shoot day. If the conditions are still moving, the test result will not be meaningful. Lock the target camera body, lens set, intended resolution, frame rate, shutter, ISO, white balance, and color pipeline before you start. ARRI’s white-balance and camera-setting guidance is a useful reminder that these camera-side controls need to be set deliberately, not left to chance.
Define the LED parameters too. Note the wall processor, refresh options, scan behavior, calibration mode, brightness target, and any genlock or sync configuration. If your stage can operate in different modes, test the exact mode you plan to book. A lower-brightness rehearsal mode does not prove the wall will be safe at the final shooting level.
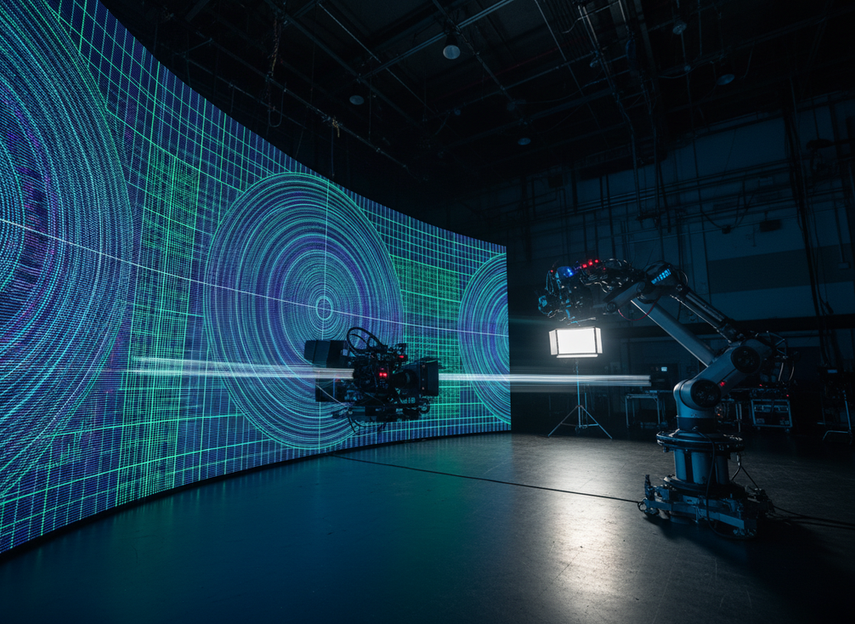
For timing and artifact control, the frame-rate and refresh mismatch is one of the first things to rule out. If the camera shutter, frame rate, and wall refresh are not aligned, flicker and banding can show up even when the wall looks fine to the eye. That is why the camera timing has to be locked before you judge the wall.
Document the physical layout as well. Camera-to-wall distance, viewing angle, focal length range, and the presence of reflective surfaces can all affect what the sensor records. Even small changes in camera height or tilt can alter moiré and patterning.
Use practical test content instead of abstract assumptions. Simple fills, gradients, skin tones, moving skies, high-frequency textures, and dark-to-bright transitions are all useful. If your project will feature close-ups, include close-up material. If it involves fast pans or fine fabric detail, test for those conditions directly.
Sync checks matter, but they are not universal. The genlock support varies by camera, so treat genlock as a compatibility check rather than a blanket guarantee. If the camera body cannot support the timing path you want, that becomes a retest or escalation issue, not a reason to assume the wall itself failed.
Run the Pre-Shoot Test Sequence
Start with a baseline shot that is easy to evaluate. Shoot a static neutral frame, then a midtone subject, then a high-contrast subject. Review each clip at full resolution before moving on. If the setup shows obvious artifacting at the baseline, there is no reason to continue with more complex material until you adjust the system.
Next, vary one parameter at a time. Change shutter speed or angle, then check the result. Change frame rate, then check again. Swap lenses if the shoot will use multiple focal lengths. This stepwise approach helps isolate which setting is causing the problem instead of masking it inside a bundle of changes.
After that, test movement. Pan, tilt, and track across the wall while recording. Use motion that reflects the planned camera language. Some issues only appear when the sensor and wall interact during movement, especially if the scene contains fine repetition, edge detail, or strong color transitions.
Then test the lighting mix. Add the intended key and practicals if they will be present on shoot day. The combined image may behave differently than the wall alone. A setup can appear clean in isolation but show problems once front light and environmental reflections are introduced.
Check for camera-visible color shift while you change brightness, angle, and content. A color change can point to wall heat, calibration drift, or a pipeline problem, and those possibilities do not all call for the same fix. If the shift follows a specific wall mode or content condition, the issue is more likely setup-dependent than camera-only.
Finally, review the footage on a calibrated display whenever possible. The camera monitor on set is useful for fast checks, but it may not reveal subtle banding or color issues. If time permits, inspect the material in a controlled viewing environment and compare clips side by side.
Keep notes while you work. Record what changed, what was observed, and what you would repeat. A disciplined virtual production LED wall test depends on traceable observations, not just a yes or no at the end of the session.
Read the Results and Decide Next Steps
Use the test to classify what you saw, then decide whether to proceed, retest, or escalate. The table below is a simple decision aid for common outcomes.
| symptom | likely meaning | immediate action | decision status |
|---|---|---|---|
| Visible flicker across the frame | Camera timing is not aligned with LED behavior | Adjust shutter, frame rate, sync, or refresh settings | Retest |
| Horizontal banding or rolling brightness | Scan interaction or exposure timing issue | Change camera timing or wall mode; verify sync path | Retest |
| Moiré on fabric, screens, or fine detail | Pixel pitch and optical sampling are interacting | Adjust lens choice, distance, framing, or content detail | Conditional proceed |
| Color shift between shots or angles | White balance, calibration, or viewing-angle sensitivity | Recheck calibration and camera color settings | Retest |
| Clean image under all planned settings | System is behaving as expected for this use case | Confirm the same settings will be used on shoot day | Proceed |
| Problems remain after reasonable tuning | Limits of the current setup may be exceeded | Escalate to stage, camera, or LED technical leads | Escalate |
A clean result does not mean every shot will be perfect. It means the setup has been tested under the expected production conditions and no major issue was seen at the time of testing. If the production plan changes later, repeat the test.
Document the Test for Stage Booking
Once the session is complete, write down the exact configuration that produced the result. Include camera body, lens, focal length, sensor mode, frame rate, shutter, ISO, white balance, ND, wall processor mode, refresh settings, brightness target, distance to wall, and any sync or genlock details.
Add a short summary of what was tested, what was observed, and what was approved or rejected. If the setup passed only under specific conditions, state those conditions clearly. If a future scene requires different content or framing, note that the previous result may not apply.
This record helps production and stage teams avoid repeating the same test from scratch. It also supports better stage booking decisions because the approval is tied to the actual setup rather than a vague claim of safety. When teams need a repeatable reference, the safest approach is to store the exact settings alongside the footage.
If your organization already uses an internal checklist or stage intake form, attach the test result there. If you maintain approved references for virtual production workflows, the rental stage LED displays category is a useful browse path when you are comparing stage-ready options.
FAQs
How Do You Tell If an LED Volume Is Camera-Safe?
It is camera-safe only after a controlled test run with the actual camera package, lens, settings, and wall mode you plan to use. A wall spec sheet alone cannot prove that the final image will stay clean.
What Causes Moiré on a Virtual Production LED Wall?
Moiré usually shows up when the camera sensor pattern and LED pixel structure interact at certain distances, angles, or focal lengths. If changing framing, distance, or lens reduces it, the issue is often setup-specific rather than a universal wall failure.
Can Genlock Alone Prevent Flicker or Scan Lines?
No. Genlock can help timing consistency, but it does not guarantee artifact-free results if shutter, frame rate, refresh behavior, or content detail are still mismatched. Treat it as one part of the test, not the whole answer.
What Should Be Re-Checked After a Failed Pre-Shoot Test?
Start with the most reversible variables first, such as shutter, frame rate, exposure, lens choice, and camera distance. If the symptom stays tied to a specific wall mode or source path, move from camera-side retesting to stage or processor escalation.
Why Is a Written Test Log Important Before Greenlight?
A written log makes the booking decision defensible because it ties the result to specific settings, content, and timing conditions. That matters when the same wall is later used with a different lens, camera, or shoot plan.
Final Take: A reliable test is the one that matches the job you are actually about to shoot. Keep the setup fixed, test the real camera conditions, record the result, and only book the stage once the image holds up under those constraints. If anything changes later, repeat the test before call time.